How to Make a Pendant Necklace: A Beginner’s Guide
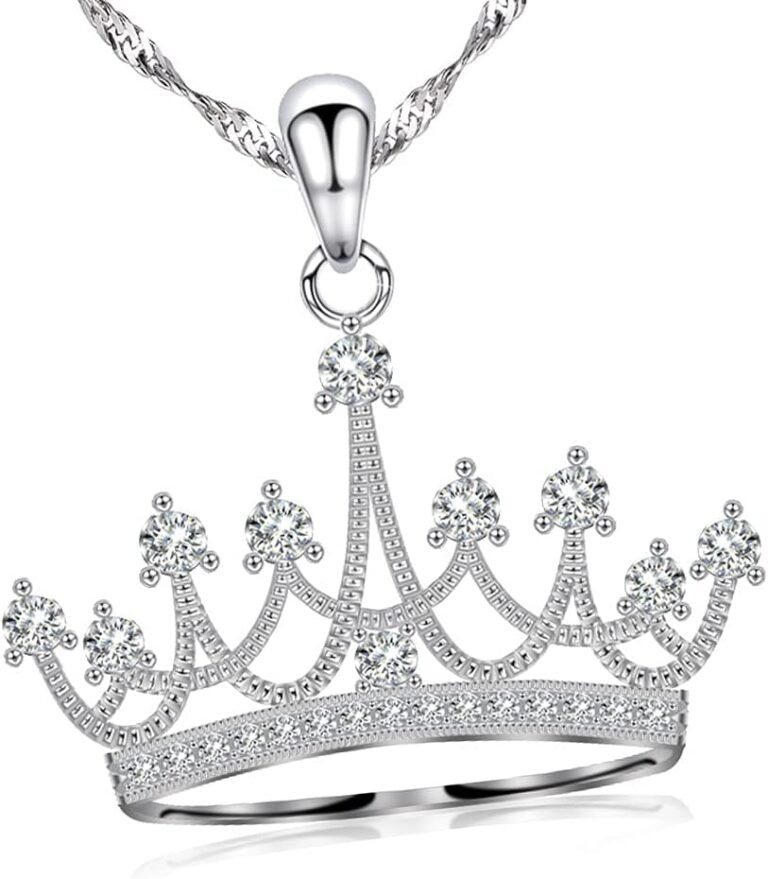
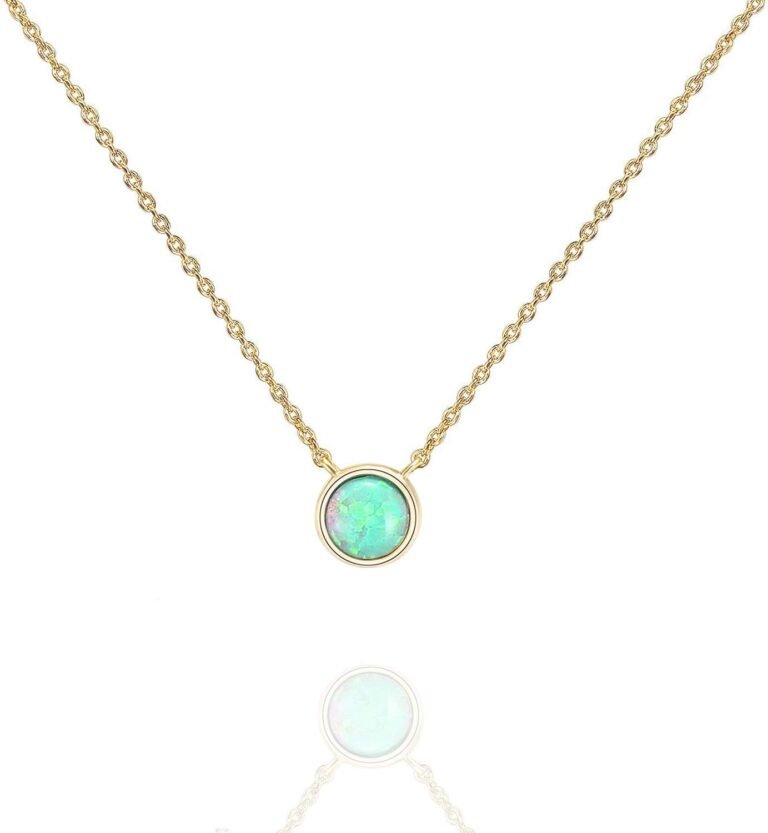
The simplest way to make a pendant necklace is to choose a pendant with a pre-made loop, slide it onto a chain or cord, and close the clasp. You can finish this basic project in under five minutes with no special tools. Making your own pendant necklace is all about picking parts that fit together and securing them properly.
You can take it further by using jewelry wire, jump rings, and crimp beads to create a more durable piece. We found that matching the pendant hole size to your cord or chain is the most important step. Many experts say that using the right findings prevents your necklace from breaking or the pendant from slipping off.
- Pick a chain or cord that fits through your pendant’s hole.
- Use jump rings to attach a pendant with a flat or uneven top.
- Secure stretchy cord with a surgeon’s knot and a dab of glue.
- Add a clasp with crimp beads for a professional finish.
- Check that all closures are tight before wearing your necklace.
Below, we break down every method step by step so you can craft a pendant necklace you will love wearing. Let’s walk through the easiest techniques and the exact tools you need to get started today.
Making a Pendant Necklace from Start to Finish
You can create a custom pendant necklace in minutes, but the real trick is choosing the right parts. We found that most DIY failures come from mismatched sizes or weak closures. The steps below work for both simple stringing and more secure wire wrapping, so you can decide how fancy you want to get.
Step 1: Gather Your Pendant Necklace Supplies
Before you touch a single bead, lay out your materials. You will need a pendant, a cord or chain, a clasp if your cord doesn’t stretch, and a few find tools. Finding tools matter for crimping and opening jump rings without damaging the metal.
- Chain nose pliers (or flat nose pliers)
- Wire cutters or flush cutters
- Crimping pliers for a professional look
- Small scissors for cord or thread
- Jump rings, crimp beads, and a clasp
Most bead stores sell starter kits with pliers and findings together. Research and found that beginners benefit most from a basic three-piece plier set. It saves money and covers nearly every common task (Beading Basics Guide).
Step 2: Pick the Right Pendant and Cord Match
Measure your pendant’s hole before you choose a cord. If the hole is tiny, a thick leather cord is not going to slide through. Likewise, a thin chain looks odd with a heavy, chunky pendant. Match the weight too — a large gemstone will stretch a light string.
Many experts say that hole size dictates your method. A pendant with a pre-made loop at the top makes things easy. A pendant with a flat top or a drilled side hole requires a jump ring or wire wrap instead.
Step 3: Attach Your Pendant with a Jump Ring
For pendants with a solid loop or a flat tab, use a jump ring. This is the most reliable connection for everyday wear. Open the jump ring sideways with two pliers, never by pulling the ends apart like a staple, because that weakens the metal.
- Slide the jump ring through the pendant loop.
- Thread the same ring onto your chain or cord loop.
- Close the jump ring by pressing the ends together gently.
We found that using two pliers keeps the ring’s shape intact. One plier holds the ring steady, the other twists the end toward you. This creates a secure circle that won’t gap open later (Jewelry Making Daily).
When to Skip the Jump Ring
Skip the jump ring when your pendant has a large hole that fits directly on the chain. You lose one connection point, and fewer connections mean fewer failure points. That is the simplest method of all — slide, center, and wear.
Step 4: Simple Stringing on a Cord
Stringing a pendant onto a soft cord is the fastest approach. Leather, suede, or cotton cord all have a flexible feel that suits casual pendants. The key is to secure the ends properly so the necklace doesn’t untie itself.
Thread the cord through the pendant hole, then pull both ends through the loop on the other side. This creates a sliding knot that allows adjusting length. Sliding knots work like magic for a necklace you might want to wear long or short. Many guidelines point to this as the go-to method for handmade bohemian style (Craftsy).
Securing a Stretchy Cord Necklace
Stretchy cords like Stretch Magic behave differently. They stretch, so you never use a metal clasp. Instead, tie a surgeon’s knot — that’s a regular knot with an extra loop on the first pass. The extra loop prevents slippage.
Add a tiny drop of jeweler’s glue or super glue on the knot, then pull the knot inside the pendant hole or hide it under a bead. Let it dry flat for at least an hour before you wear it. We found that drying time matters more than any other step with stretchy cord (Consumer Reports on adhesives).
Building a More Professional Pendant Necklace
Once you master simple stringing, you can level up to a necklace that uses crimp beads and a proper clasp. This produces a sturdier, more polished piece that looks store-bought. The trade-off is a few extra minutes and tools.
Step 5: Use a Wire Wrap for Flatter Pendants
Pendants that have a flat top or a small horizontal hole need a wire wrap. Cut a piece of 20-gauge or 22-gauge wire about 3 inches long. Wire wrap acts like a custom loop for any pendant shape.
Center the wire across the top of the pendant, then wrap each end around the wire twice. Point both ends upward, and you now have a loop ready to accept a chain or jump ring. This method works for coins, flat stones, and even sea glass.
Many experts say that practicing on scrap wire saves frustration. Wire is forgiving — you can bend and rebend it. But too many bends can weaken the metal, so aim to get it right in a couple of attempts (The Spruce Crafts).
Step 6: Add a Clasp with Crimp Beads
If you are using a bead stringing wire like Soft Flex or Accu-Flex, crimp beads are your best friend. These little soft metal tubes squeeze flat around the wire to hold the clasp. Crimp beads secure the ends without tying any knots.
- Thread the wire through the crimp bead.
- Pass the wire through the clasp ring, then back through the crimp bead.
- Squeeze the crimp bead with crimp pliers into a small rounded shape.
- Tug the wire to test that it doesn’t slide.
- Trim the extra wire tail.
Research and found that crimping too hard can cut the wire, while crimping too soft leaves the clasp loose. The goal is a firm but gentle press. If you squeeze too hard, snip the crimp off and start again — no harm done.
Step 7: Choose Between a Chain and a Cord
Your choice of chain or cord changes the feel of your necklace. A delicate gold or silver chain adds elegance, while a leather cord looks more organic. The decision is personal, but there are functional differences to note. Wire chains handle more weight than thin satin ribbons or silk threads.
| Type | Best for | Durability | Clasp needed? |
|---|---|---|---|
| Fine chain | Small and light pendants | Medium | Yes |
| Leather cord | Casual and rustic designs | High | Often yes |
| Stretchy cord | Beaded companion designs | Medium | No |
| Bead stringing wire | Multi-bead or heavy pendants | Very high | Yes |
We found that bead stringing wire is the strongest option because it doesn’t stretch or fray. It handles daily wear better than natural fibers that can absorb moisture and break down over time (US Geological Survey on material strengths).
Step 8: Check Length and Balance on Your Neck
Put the necklace on before you commit to your final knot or crimp. Adjust the length so the pendant sits at a flattering spot on your chest. Most people prefer either choker length at 14-16 inches or a longer 18-20 inch drop.
For heavier pendants, center the pendant so it doesn’t slide to one side. You can add a small bead on each side as a stop, but pure cord needs a little help. A pair of spacer beads looks decorative and solves the sliding issue at the same time.
Step 9: Finish and Test Your Necklace Closures
Before you wear your pendant out, flex the clasp open and shut several times. Pull on the pendant and cord in opposite directions. If anything slips, redo that connection now. Testing trumps hope every time.
Many experts say that most necklace failures happen at the clasp, not the pendant. Lobster clasps are popular because they feel secure, but spring rings are easier to operate one-handed. Magnetic clasps are convenient but not ideal for heavy pendants that tug strongly.
Step 10: Store Your Handmade Pendant Necklace Properly
Keep your new necklace flat or hung by its clasp to prevent tangling. Avoid storing it in a direct sunlit spot that fades colors, and keep it away from water if you used natural cord. Proper storage extends your necklace’s life significantly.
Research and found that separating necklaces in small bags prevents metal-on-metal scratches. Even cheap jewelry looks better longer when you keep it from rubbing against other pieces. One small cotton pouch per necklace works best.
Simple Pendant Necklace Checklist
Use this quick list the next time you are mid-project and wondering if you missed a step. Run through it before you tie off any final knot or crimp.
- Pendant hole matches your cord or chain width.
- Jump ring (if used) sits securely and is fully closed.
- Crimp bead or knot has passed a gentle tug test.
- Clasp opens and closes smoothly without catching.
- Necklace length shows the pendant at your preferred position.
- Cord is cut with clean ends, not frayed stubs.
Pendant Necklace Styles You Can Create Today
You already have all the basics, so now think about style. A single fancy pendant on a silk cord looks formal. Layering three necklaces with different lengths creates a boho vibe. Mixing textures is encouraged — mix a metal chain with a leather cord for depth.
We found that beginners feel most success with simple pendants like a flat teardrop or round cabochon. They fit well on standard jump rings and sit flat against the chest. Odd-shaped pendants like raw crystals need wire wrapping and a bit more practice. That’s okay — start simple and grow your skill.
Many hobbyists start by collecting interesting pendants from craft fairs, thrift shops, or even travel souvenirs. You can turn almost anything with a hole into a necklace. Even a smooth rock with a drilled hole becomes a statement piece when combined with a waxed cord. Your imagination is the only limit.
When in doubt about which attachment method to use, choose a jump ring for pendants with loops and a wire wrap for everything else. These two techniques cover the vast majority of pendant designs you will find. Everything else is just practice and personal taste.
Conclusion
Making your own pendant necklace is one of the easiest jewelry projects you can tackle. You only need a few basic tools and a clear idea of how your pendant attaches to your cord or chain. Measure your pendant hole first, then pick the right stringing material and closure method.
Remember that a simple jump ring works for most pendants, while a wire wrap gives you more options for flat or oddly shaped pieces. Test every clasp and knot before you wear your new necklace out. Your next step is to pick one pendant and one cord, then follow the first three steps to finish a piece you will be proud to wear today.
Frequently Asked Questions
What kind of glue is safe for jewelry making?
Use jeweler’s glue or clear craft adhesive designed for beads and metal findings. Super glue works in a pinch, but it can leave a white residue on some surfaces. Apply a tiny drop and let the piece dry flat for at least one hour before wearing.
Can I make a pendant necklace without any special tools?
Yes, you can slide a pendant with a large hole directly onto a pre-made chain or a soft cord with sliding knots. You only need tools if you are using jump rings, crimp beads, or wire wrapping. Start with no-tool methods to build confidence before investing in pliers.
How do I keep my pendant from flipping over on the chain?
A pendant with a top loop often flips if the chain is too thin or the pendant is heavier at the bottom. Use a slightly sturdier chain or add a small bead on each side of the pendant as a stop. Wire-wrapped pendants rarely flip because the wrap creates a stable connection point.
What is the best cord for a heavy gemstone pendant?
Bead stringing wire is your best choice for heavy pendants because it won’t stretch or break under weight. Leather cord can work, but it needs a strong clasp and may wear out over time. Stay away from stretchy cord for heavy stones since it can sag and lose shape quickly.
How long should my pendant necklace be for my height?
A comfortable starting point is 18 inches, which falls near your collarbone for most people. For a shorter frame, try 16 inches for a choker position. Test with a piece of string first before you cut your cord or chain to find your perfect drop length.