Craft a Coin Ring: Step-by-Step Guide
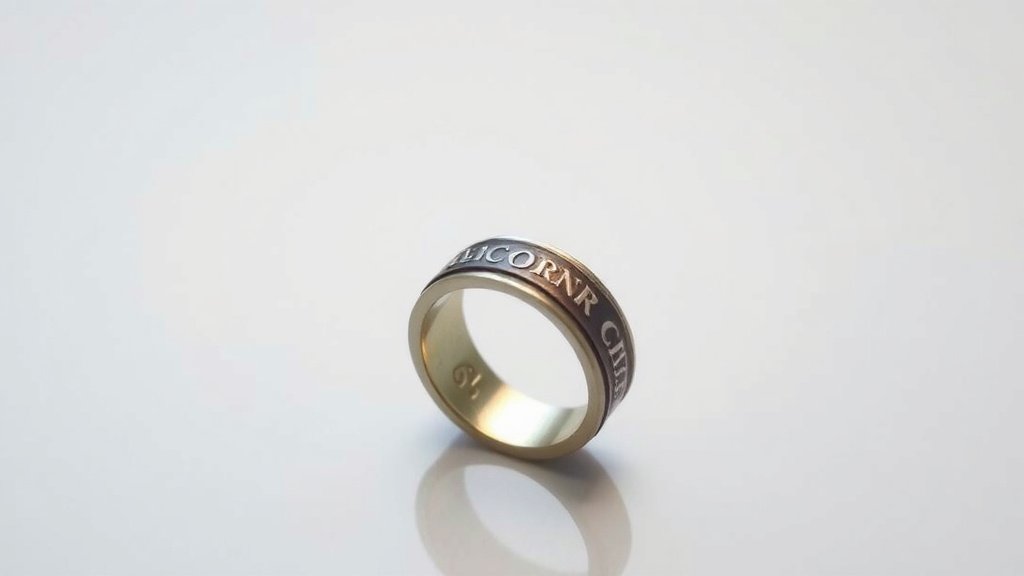
Yes, you absolutely can make a ring out of a coin! It’s a surprisingly accessible DIY project that lets you create a unique piece of jewelry from everyday change. You’ll need a few basic tools and a bit of patience to transform a plain coin into a wearable ring, often called a coin ring or hobo ring. This process involves shaping metal without welding.
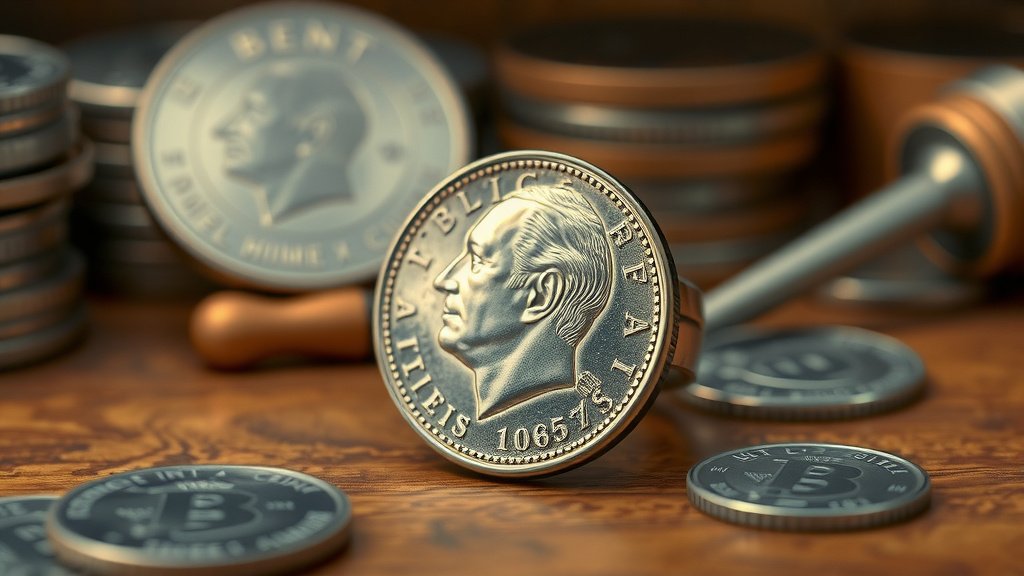
This popular craft has a long history. It’s a fantastic way to recycle, make a personalized gift, or simply enjoy a satisfying hands-on experience. Many people find the transformation of a flat coin into a curved ring to be incredibly rewarding. You can use a variety of coins, but older, softer metals like silver are often preferred for easier manipulation.
- You can definitely turn a coin into a ring.
- It’s a popular DIY craft project.
- Older coins, especially silver ones, work best.
- Basic tools and patience are key.
- You’ll be shaping metal, not welding.
Ready to give it a try? We’ve gathered the most common methods and steps to guide you through making your own coin ring.
Transforming Coins into Rings: Your Step-by-Step Guide
So, you’re wondering how to actually turn a coin into a wearable ring? It’s a fun project that requires a bit of elbow grease and the right tools. The general idea is to carefully fold and shape the metal of the coin. You’ll be working the coin’s metal until it forms a nice, round band that fits your finger. Many people find this method to be very satisfying.
You’ll discover that the type of coin matters. Older coins, especially those made from softer metals like silver, are much easier to work with. Modern coins often have harder alloys, making them more challenging to shape. We’ll walk you through the most common ways to achieve this transformation, ensuring you have a good understanding of the process before you start.
Gathering Your Coin Ring Making Supplies
Before you can start folding metal, you need to make sure you have all the necessary tools. Having everything ready will make the process go much smoother. Think of it like preparing to bake – you wouldn’t start without your ingredients and equipment, right?
The Coin Itself: What to Choose
Your choice of coin is really important. As we mentioned, older coins are often better. Look for coins with a higher silver content if you can find them. For example, a pre-1965 US silver quarter is a popular choice among crafters. These coins are typically made of 90% silver, which is quite malleable.
You might also consider half dollars from the same era. Indian Head pennies can also work, though they are smaller and may result in a thinner band. Avoid modern coins made with steel or clad materials, as they are significantly harder to bend and shape without specialized equipment or a lot of effort.
Essential Tools for Shaping the Coin
You’ll need a few key tools. A ring sizer or a mandrel is vital for getting the correct size. You’ll also need something to hammer with. A jeweler’s hammer with a flat face is ideal.
To help you shape the coin, you’ll need a ring cone or a tapered mandrel. This is what you’ll hammer the coin onto to create the curve. A sturdy bench block or anvil is also necessary to provide a solid surface for hammering.
Optional but Helpful Tools
While not strictly required, some tools can make the process easier. A torch (like a small butane torch) can be used to anneal the coin. Annealing softens the metal, making it easier to shape. Safety first if you decide to use a torch; always work in a well-ventilated area and have a fire extinguisher handy.
You might also find a vise helpful for holding the coin steady. A die set can create a perfectly centered hole, which is a critical first step for many methods. Some crafters use a drill press for this. Lastly, safety glasses are a must to protect your eyes from any flying metal fragments. Always prioritize safety.
Understanding the Coin Ring Making Process
The core of making a coin ring involves compressing and folding the coin’s metal. There are several popular methods, but they all aim to achieve the same result: a sturdy, well-formed ring from a flat coin.
Method 1: The Folded Coin Method (Hammer and Cone)
This is perhaps the most traditional and accessible method. It requires patience and a good amount of hammering. You’ll start by creating a hole in the center of the coin. This is often done by drilling or using a punch and die set.
Once the hole is made, you’ll place the coin over a ring cone or tapered mandrel. Then, you’ll begin to hammer the outer edge of the coin down towards the center. The idea is to gradually fold the metal inward. You’ll rotate the coin and hammer, slowly working the metal into a tighter curve.
Annealing for Easier Shaping
If your coin is proving too hard to bend, annealing can help. You’d heat the coin evenly with a torch until it glows red, then let it cool slowly. Research has shown that annealing can significantly reduce the hardness of many metals (Smithsonian Magazine).
This process makes the metal more pliable. After annealing, let the coin cool completely before continuing to hammer. You might need to anneal multiple times throughout the process, especially if you’re working with a particularly stubborn coin. Be cautious when working with heat!
Gradual Shaping and Sizing
The key here is gradual shaping. Don’t try to force the coin into shape too quickly. Hammer gently and consistently. After each few hammer strikes, check the fit on your ring sizer or mandrel. You want to avoid overworking the metal, which can lead to cracks.
As the ring takes shape, you’ll continue to hammer and fold the edges. You’re essentially coaxing the metal into a ring form. When you get close to your desired size, you can use a ring sizer to get a more precise measurement. This method can take several hours.
Method 2: The Punch and Press Method
This method is more involved and often requires specialized tools, like a hydraulic press. It’s generally faster than the hammer and cone method once you have the setup. You’ll start similarly by creating a hole in the coin.
Instead of hammering, you’ll use a series of increasingly smaller ring dies and the press. The coin is placed within a die, and the press applies immense pressure, forcing the coin through the die and shaping it into a ring. This is a much more controlled way to compress the metal.
Die Sets and Their Importance
Using a proper set of ring-making dies is crucial for this method. These dies are designed to progressively shrink the diameter of the coin while folding it into a ring shape. Each die set typically includes multiple sizes.
You start with the largest die and work your way down to the smallest. The coin is placed in the die, and the press forces a plunger through it, compressing and shaping the metal. You’ll likely need to anneal the coin between steps to prevent cracking.
Finishing Your Coin Ring
Once you’ve achieved the desired shape and size, there are still a few steps to make your ring look professional. This is where you polish and refine your work.
Smoothing and Polishing
Your hammered coin ring might have some rough edges or hammer marks. You’ll want to smooth these out. Files can be used to clean up the edges. For a smoother finish, many crafters use sandpaper, starting with a coarser grit and moving to finer grits.
A polishing wheel or a buffing machine can give your ring a beautiful shine. If you don’t have access to these, you can also use polishing cloths or compounds designed for metal. The goal is to make the ring comfortable to wear and visually appealing.
Final Size Adjustments
Even after shaping, you might need to make minor adjustments to the size. A ring sizer can help you check this. You can gently tap the ring on your mandrel to slightly enlarge it or use a ring adjuster to tighten it if needed. Remember, coin metal can be unforgiving, so make these adjustments carefully.
Checklist for Your First Coin Ring Project
Ready to get started? Here’s a quick rundown of what you’ll need to keep in mind:
- Choose the right coin (older silver coins are best).
- Gather your essential tools: hammer, cone/mandrel, sizer.
- Decide on your shaping method: hammer or press.
- Consider annealing for easier metal work.
- Be patient and work gradually; don’t rush the process.
- Finish by smoothing and polishing for a clean look.
Conclusion
You’ve now learned the basics of transforming a simple coin into a unique ring. It’s a rewarding project that blends history with modern DIY. Remember, patience and the right tools are your best friends here. Starting with older, softer coins like silver quarters will make your journey much smoother. Don’t be afraid to anneal the metal if it gets tough to shape.
Once you’ve hammered and shaped your coin, finishing touches like polishing will give your creation a professional look. Ready to make your first coin ring? Gather your supplies and start shaping that metal into something you can wear with pride!
Frequently Asked Questions
What are the best coins to use for making a ring?
Older U.S. silver coins, such as pre-1965 quarters or half dollars, are excellent choices. Their higher silver content makes the metal softer and easier to shape. Avoid modern clad coins as they are much harder and can be difficult to work with.
Do I need a special hammer to make a coin ring?
While a jeweler’s hammer with a flat face is ideal, you can start with a regular hammer that has a smooth, flat striking surface. The key is to use it gently and consistently to avoid damaging the coin’s surface or creating unwanted dents.
How long does it typically take to make a coin ring?
The time can vary greatly depending on your experience and the method you use. The hammer and cone method, which relies on gradual shaping, can take several hours, often spread over multiple sessions. Using a hydraulic press with dies is generally much faster.
Can I make a coin ring without annealing?
Yes, you can, especially if you’re using very soft coins or are patient with the shaping process. However, annealing softens the metal, significantly reducing the effort required and the risk of cracking. It’s highly recommended if you find the coin becoming stiff or difficult to bend.
How do I make sure the ring fits my finger correctly?
Using a ring sizer or a mandrel throughout the process is essential. As you shape the coin on the mandrel, you can periodically check the size. It’s better to aim for a slightly snug fit initially, as coin rings can sometimes expand slightly during polishing.