Craft Your Own Resin Ring: A Step-by-Step Guide
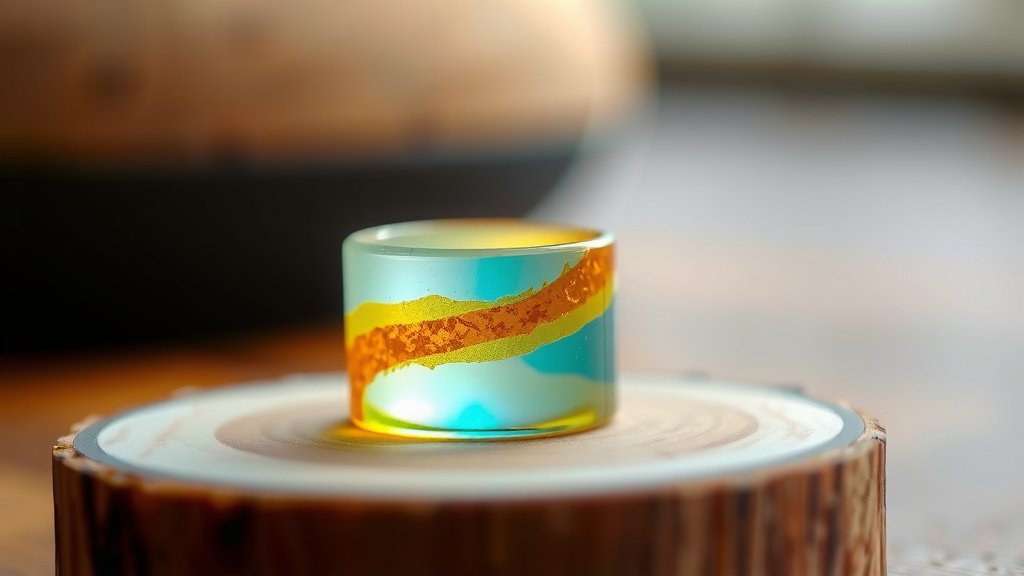
Making your own resin ring is totally achievable for crafters of all levels. You can create beautiful, custom jewelry right at home with just a few key supplies and a little patience. This guide will walk you through the simple process of making a stunning resin ring.
Resin crafting has exploded in popularity because it lets you capture unique elements like glitter, dried flowers, or even small objects inside a clear, durable material. Getting started means understanding the basic steps, like mixing the resin correctly and using the right molds. It’s a rewarding hobby that lets your creativity shine through your handmade accessories.
- Gather your resin, hardener, and molds.
- Prepare your workspace to avoid spills.
- Mix the resin and hardener carefully.
- Add your chosen inclusions (glitter, flowers, etc.).
- Pour into the ring mold and let it cure.
Ready to get your hands a little messy and make something amazing? Let’s walk through exactly how to make your very own resin ring, step by step!
Creating Your Own Resin Rings
Making your own resin ring is a fun and accessible craft. You can design unique jewelry pieces at home. This guide will walk you through the entire process. We’ll cover everything from materials to the final cure. Get ready to make something beautiful!
Gathering Your Essential Resin Ring Supplies
Before you start mixing, it’s important to have all your supplies ready. This will make the crafting process much smoother. You don’t want to stop halfway through to hunt for something. We’ve put together a list of the must-haves.
The Resin Itself
You’ll need a good quality epoxy resin specifically designed for jewelry making. This type of resin is typically low viscosity, meaning it flows easily. It also cures to a hard, crystal-clear finish. Many brands offer starter kits that include both the resin and the hardener. These are often a great choice for beginners.
Mixing Cups and Stir Sticks
You’ll need several small, disposable cups for mixing. Plastic or silicone cups work well. For stirring, use small wooden craft sticks or silicone stirrers. Make sure they are clean and dry before you start. Having extra is always a good idea, as resin can get messy.
Your Ring Molds
Resin ring molds come in various shapes and sizes. Silicone molds are the most common and easiest to work with. They allow for easy demolding without damaging your finished ring. You can find molds that create simple bands or more elaborate designs. Choose a size that fits your finger or is intended as a gift.
Inclusions for Decoration
This is where your creativity really shines! You can add almost anything to your resin. Popular choices include glitter, dried flowers, small beads, or even tiny charms. Make sure any organic materials, like flowers, are completely dry. Moisture can cause issues with the resin curing.
Safety Gear is a Must
Working with resin requires some safety precautions. Always wear disposable nitrile gloves to protect your skin. Resin fumes can be irritating, so work in a well-ventilated area or wear a respirator mask. Safety glasses are also recommended to protect your eyes from splashes.
Other Helpful Tools
You might also want a heat gun or a long-arm lighter to pop any air bubbles. A precision dropper or syringe can be helpful for precise pouring. And don’t forget some paper towels or wipes for easy cleanup. Having these on hand will make your crafting experience much better.
Preparing Your Workspace for Resin Crafting
Setting up your workspace correctly is vital for a successful resin project. A clean, stable surface is your best friend here. You also want to protect your work area from any potential drips or spills. Resin can be tricky to remove once cured.
Ventilation is Key
As mentioned, resin can release fumes. It’s best to work near an open window or door. If you can’t ensure good airflow, consider using a fan to circulate air away from you. Many crafters find working outdoors on a calm day is also a great option. Proper ventilation is recommended by most resin manufacturers.
Protect Your Surfaces
Cover your work surface with a silicone mat, wax paper, or plastic sheeting. This creates a barrier between the resin and your table. It also makes cleanup much simpler. You can just peel off the dried resin and the plastic once you’re done. It’s a lifesaver!
Organize Your Supplies
Lay out all your materials within easy reach before you begin. This includes your resin, hardener, cups, stir sticks, molds, and any inclusions. Having everything organized prevents you from having to search for items with sticky hands. A little organization goes a long way.
Mixing Your Epoxy Resin: The Right Ratio
The most critical step in resin crafting is mixing the resin and hardener correctly. The ratio is usually specified by the manufacturer. Most common is a 1:1 or 2:1 ratio of resin to hardener. Always double-check the instructions on your specific resin product.
Accurate Measuring is Non-Negotiable
Use disposable measuring cups or a digital scale for accuracy. Pour the correct amount of resin into one cup. Then, pour the exact amount of hardener into a separate cup or directly into the resin cup if the ratio allows. Precision here is absolutely essential for a proper cure.
Stirring Technique Matters
Once measured, gently but thoroughly stir the mixture. Scrape the sides and bottom of the cup to ensure everything is incorporated. Stir for the amount of time recommended by the manufacturer, usually 3-5 minutes. Slow, consistent stirring helps minimize air bubbles. Over-stirring can introduce too much air.
What Happens If It’s Not Mixed Right?
If the ratio is off, your resin might cure sticky, soft, or not at all. This is incredibly frustrating after all your hard work. It can also lead to a weaker, less durable finished product. So, take your time with this step. It’s worth the effort for a perfect cure.
Adding Color and Embellishments to Your Resin
Now for the fun part – customizing your ring! You can leave your resin crystal clear or add a splash of color and texture. This is where your personal style comes into play. Think about the look you want to achieve.
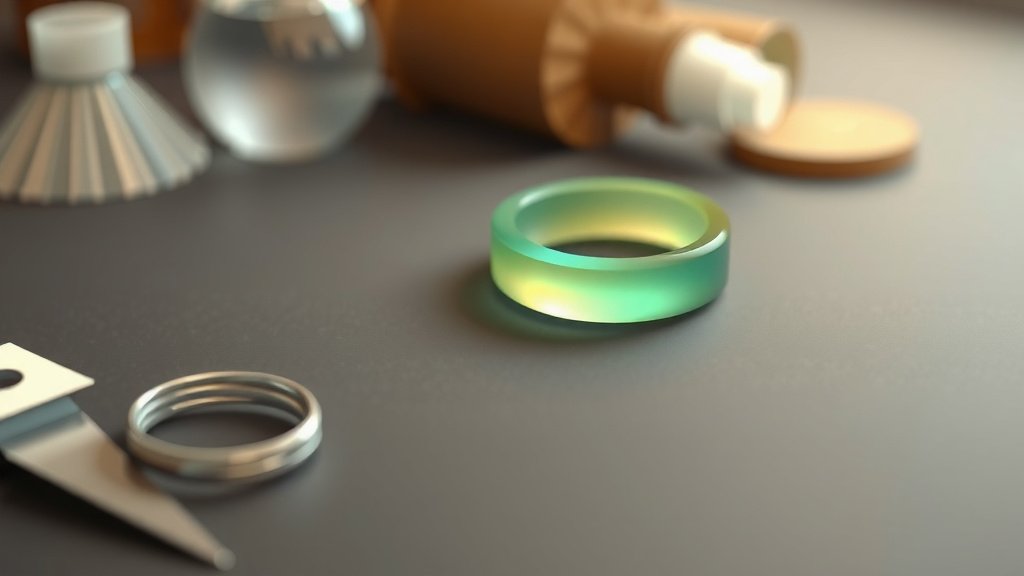
Using Resin Dyes and Pigments
Epoxy resin dyes and pigments are specifically made for this purpose. They come in liquid or powder form. Add just a tiny amount at first. You can always add more to achieve a deeper color. Stir gently until the color is uniform. Too much pigment can affect the resin’s ability to cure properly.
Incorporating Glitter and Mica Powders
Glitter and mica powders add shimmer and depth. They are easy to mix in. Simply sprinkle them into your mixed resin. Stir gently until evenly distributed. You can layer different colors or sizes of glitter for a unique effect. Small amounts are usually best so they don’t interfere with curing.
Embedding Objects: Flowers, Charms, and More
Dried flowers, small beads, or tiny charms can make your ring truly special. Ensure any natural elements are completely dry. Place your inclusions in the mold first, or add them as you pour the resin. If you’re adding them after pouring some resin, they’ll be suspended within the piece. This creates a beautiful floating effect.
Pouring and Curing Your Resin Ring
With your resin mixed and your design ready, it’s time to pour it into the mold. This step requires a steady hand. The curing process is crucial for the final hardness and clarity of your ring.
Filling the Ring Mold Carefully
Slowly pour the resin mixture into your silicone ring mold. Fill it to the top edge, but avoid overfilling. If you’re adding inclusions, carefully place them as you pour. Try to keep the inclusions centered and evenly distributed. Don’t rush this part!
Dealing with Air Bubbles
Air bubbles are a common issue in resin crafting. After pouring, you might see small bubbles. Gently use a heat gun on a low setting or a long-arm lighter to pop them. Wave the heat source quickly over the surface. Don’t hold it in one spot, as this can damage the mold or overheat the resin.
The Curing Process: Patience is a Virtue
Once poured and de-bubbled, the resin needs to cure. This means letting it sit undisturbed to harden. Curing times vary by resin type and temperature. Most resins need at least 24-72 hours to cure fully. Check your resin’s instructions for specific times. Keep the mold on a level surface in a warm, dust-free environment. Avoid touching or moving it during this time.
Demolding Your Beautiful Creation
After the recommended curing time, it’s time for the reveal! Gently peel back the silicone mold from the resin ring. If it’s sticking, try to gently flex the mold. It should pop out easily if it has cured correctly. If it feels soft or sticky, it may need more curing time or there might have been a mixing issue.
Finishing Touches: Sanding and Polishing
Sometimes, the edges of your ring might be a little rough. You can smooth them using fine-grit sandpaper. Start with a medium grit and move to a finer one. Wet sanding can help reduce dust. After sanding, you can polish the ring with a plastic polish or a soft cloth for a high shine. This makes your ring look professionally finished.
Checklist: Your Resin Ring Making Quick Guide
- Ensure you have all your resin supplies.
- Work in a well-ventilated area with covered surfaces.
- Measure resin and hardener accurately for the correct ratio.
- Stir slowly and thoroughly to avoid excess air bubbles.
- Pour carefully into the mold and pop any visible bubbles.
- Allow the ring to cure completely in a dust-free spot.
Conclusion
You’ve learned how to create beautiful custom resin rings right at your own craft table! From selecting your perfect epoxy resin and fun inclusions to understanding the importance of accurate mixing and proper curing, you’re ready to start. Remember that safety gear and a well-ventilated workspace are key for a smooth experience. Don’t be afraid to experiment with colors and designs. Your next step is to gather your supplies and pour your first stunning ring. Happy crafting!
Frequently Asked Questions
How long does it take for a resin ring to cure completely?
Most epoxy resins for jewelry require a full cure of 24 to 72 hours. This time allows the resin to harden to its maximum durability and clarity. Always refer to your specific resin product’s instructions, as cure times can vary. Ensure you keep the ring undisturbed in a warm, dust-free spot during this period.
What’s the best way to remove air bubbles from resin rings?
Air bubbles are common, but they can be easily managed. After pouring your resin into the mold, gently use a heat gun on a low setting or a long-arm lighter passed quickly over the surface. This will help pop any surface bubbles. Avoid holding the heat in one place to prevent damage.
Can I put real flowers in my resin ring?
Yes, you absolutely can! However, it’s critical that any organic materials like real flowers are thoroughly dried and even dehydrated first. Moisture in the flowers can cause them to yellow, rot, or create black spots within the cured resin. Ensure they are brittle and completely dry before embedding.
My resin ring is still sticky. What did I do wrong?
A sticky or soft resin ring usually indicates an issue with the mixing ratio or incomplete curing. Double-check that you measured your resin and hardener precisely according to the manufacturer’s instructions, typically a 1:1 or 2:1 ratio. Also, ensure it cured for the full recommended time in a proper environment.
Is it safe to wear a resin ring that I made myself?
Once fully cured, most epoxy resins used for jewelry making are considered safe for skin contact. The key is ensuring the resin is completely hardened, as uncured resin can sometimes cause skin irritation. Always follow safety guidelines during the crafting process, wearing gloves and working in a ventilated area.