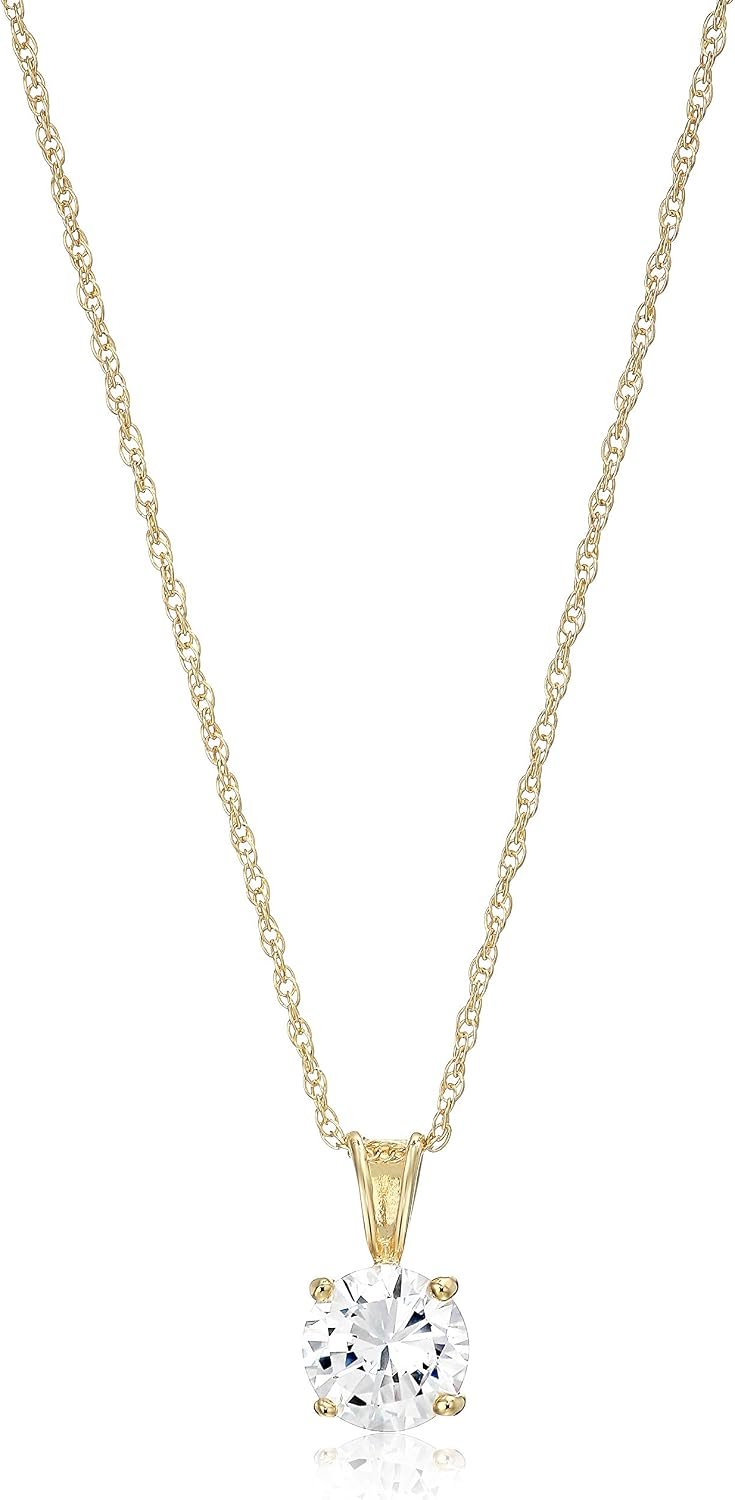
How to Fix a Pendant Necklace: 6 Simple Steps
The quickest way to fix a pendant necklace is to replace the jump ring that connects the pendant to the chain. You can do this with two small jewelry pliers in under five minutes. If the chain itself is broken, a simple clasp repair or link reattachment usually solves the problem.
Most pendant necklace issues are surprisingly easy to fix at home. You don’t need to be a professional jeweler or own fancy tools. We found that the most common problems involve worn-out jump rings, broken clasps, and snapped chains. With a little patience, you can save money and keep wearing your favorite jewelry.
- Fix a broken jump ring with two pairs of pliers in seconds.
- Repair a clasp by unscrewing or replacing it with a new one.
- Reattach a chain link using a tiny split ring for a secure hold.
- Use jewelry glue for decorative pieces that aren’t load-bearing.
- Know when to call a pro for intricate or high-value pieces.
Below, we break down exactly how to fix your pendant necklace step by step, plus the simple tools you need to get started.
Repairing Your Pendant Necklace at Home
You can fix most pendant necklaces in about ten minutes. The secret is having the right tools and knowing which part failed. We found that most broken pendants fall into three categories: the jump ring wore out, the clasp stopped working, or the chain snapped.
Before you panic, grab a bright lamp and your reading glasses. Tiny parts are easier to handle when you can see them clearly. You will also want a clean, flat surface. A white towel works great because it keeps small pieces from rolling away.
Gathering Your Jewelry Repair Toolkit
You do not need a fancy workshop. We found that a basic kit costs less than twenty dollars and fixes almost every common issue. Here is what you should have on hand:
- Two pairs of chain-nose pliers (these open and close jump rings)
- One pair of flat-nose pliers (for flattening and gripping)
- Small wire cutters (for trimming excess wire)
- A jewelry repair mat or clean towel
- A magnifying glass or jeweler’s loupe
- Jewelry glue (for decorative pieces only)
You can find these tools at any craft store or online. Many experts say that chain-nose pliers are the most important tool for pendant repairs. They have pointed tips that reach into tight spaces.
Fixing the Most Common Pendant Problems
Once your tools are ready, you can tackle the repair. We found that the jump ring is the usual culprit when a pendant falls off. The constant motion of wearing the necklace weakens the metal over time.
How to Replace a Worn Jump Ring
A jump ring is that small metal circle connecting your pendant to the chain. When it bends or snaps, your pendant drops off. Here is the simple fix:
- Find the opening in the jump ring. It looks like a tiny break in the circle.
- Grip each side of the opening with your two pairs of pliers.
- Twist one pair toward you and one pair away. This opens the ring sideways, not by pulling apart.
- Slide the old ring off the chain and pendant.
- Thread the new jump ring through both the pendant loop and the chain link.
- Close the ring by twisting the pliers back in opposite directions.
Do not pull the ring apart like you are opening a keychain. That weakens the metal and creates a gap. Twist it sideways instead. This keeps the ring perfectly round and strong.
If you have a heavier pendant, you might need a thicker jump ring. Thin rings bend easily under the weight of large stones. We found that 20-gauge wire works well for most pendants.
Using a Split Ring for Extra Security
Some people prefer split rings over jump rings. A split ring looks like a tiny keychain. It has multiple coils, so it is much harder to open accidentally.
To attach a split ring, you use your fingernail or a flat-head screwdriver to pry the coils apart. Then you thread the chain through one coil and the pendant through another. Split rings are the best choice for active kids or anyone who wears their necklace daily.
Repairing a Broken Clasp
If your necklace keeps falling off your neck, the clasp is probably worn out. Lobster clasps and spring rings both fail after years of use. The tiny spring inside the clasp gets weak or the hook bends out of shape.
The easiest fix is to replace the entire clasp. You can buy a new one at any craft store for a few dollars. Here is how you swap it out:
- Cut the old clasp off with your wire cutters.
- Slide a new jump ring onto the chain end.
- Attach the new clasp to the jump ring.
- Close the jump ring using your two pliers.
That is the whole process. The hardest part is matching the metal color. Gold, silver, and rose gold finishes are easy to find. Just bring your necklace to the store and match the tone by eye.
Quick Fix for a Sticky Clasp
Sometimes the clasp is not broken, just sticky. Dirt and lotion build up inside the mechanism and make it hard to open. We found that a quick soak in warm soapy water fixes this problem fast.
Mix a few drops of dish soap in a small bowl of warm water. Let the clasp soak for five minutes. Then use an old toothbrush to scrub it gently. Rinse and dry completely before wearing. This trick works on lobster clasps and spring rings.
Reattaching a Snapped Chain
Chain breaks happen at the most annoying times. The good news is that many breaks occur right at the clasp or at a link that has worn thin. We found that you can often fix the break in minutes without losing any length.
Fixing a Break at the Clasp
When the chain breaks right where it meets the clasp, the fix is simple. Cut off the damaged link with your wire cutters. Then attach a new jump ring to the shortened chain end. Finally, connect the jump ring to your clasp.
You lose about a quarter inch of length, but the necklace works perfectly again. If the necklace is too short after this fix, consider adding an extender chain. These small chains attach to the clasp and add two to three inches.
Repairing a Break in the Middle of the Chain
Breaks in the middle of the chain are trickier. You have two options: reconnect the broken link or add a connector. For delicate chains like cable or rope styles, we recommend using a tiny split ring to join the two broken ends.
Here is the step-by-step process:
- Open the split ring with your fingernail.
- Thread one broken chain end onto the split ring.
- Thread the other broken chain end onto the same ring.
- Close the split ring completely.
The split ring acts as a bridge between the two ends. It looks like a small metal dot on the chain. You can hide it under your pendant if you position it there.
When Soldering Is the Only Option
Some chains are too thin to fix with jump rings. If your chain is delicate or has an intricate weave, you might need professional soldering. A jeweler can weld the broken link back together so it looks brand new.
Most jewelers charge between fifteen and thirty dollars for a simple chain repair. That is a fair price for a high-value necklace. We found that professional repair is worth the cost for sentimental pieces or those made of precious metals.
Using Jewelry Glue for Certain Pendants
Not every pendant hangs from a loop. Some pendants have a flat back that was originally glued to a bail. Over time, that glue dries out and the pendant separates from the bail. If your pendant has a smooth back with no loop, jewelry glue can save the day.
Look for a glue that specifically says it works on metal and glass. Epoxy and cyanoacrylate (super glue) both work well. We found that two-part epoxy creates the strongest bond for jewelry repair.
Steps for Gluing a Pendant Back to Its Bail
- Clean both surfaces with rubbing alcohol. Let them dry completely.
- Mix a tiny amount of epoxy according to the package directions.
- Apply a thin layer to the flat back of the pendant.
- Press the bail firmly onto the pendant.
- Hold it in place for sixty seconds.
- Set it aside and let it cure for 24 hours.
Do not wear the necklace during the curing time. Rushing this step can cause the bond to fail. Many experts say that patience is the key to a lasting glue repair.
Glue only works for decorative pendants that do not carry much weight. If your pendant is heavy, skip the glue. Use a wire wrap method or visit a jeweler instead.
Your Pendant Necklace Repair Checklist
Before you start any repair, run through this quick checklist. It helps you avoid mistakes and keeps your necklace safe:
- Identify the exact problem (jump ring, clasp, chain, or glue)
- Gather your tools before you begin
- Work on a clean, bright surface to avoid losing parts
- Use the right size jump ring for your chain and pendant
- Twist jump rings open sideways, never pull them apart
- Let glue cure completely before wearing the necklace
When to Take Your Necklace to a Professional
Some repairs are not DIY-friendly. If your pendant is a family heirloom or has a high retail value, we recommend seeing a jeweler. The same goes for complicated chain weaves or delicate vintage pieces. A professional has the right tools and insurance if something goes wrong.
You should also seek professional help if the metal is severely bent or cracked. Forcing a repair could cause more damage. We found that a simple consultation with a jeweler is often free. They can tell you exactly what the repair will cost and how long it will take.
Most basic repairs cost less than a new necklace. Replacing a clasp runs about ten dollars. A full chain replacement might cost thirty to fifty dollars. Compared to buying a brand new pendant necklace, repairing your favorite piece is usually the smarter choice.
You have the skills and the tools now. The next time your pendant hits the floor, you will know exactly what to do. Take a deep breath, grab your pliers, and fix it yourself. You might even find the process a little satisfying. If you’re styling a new pendant, our style guide for men covers chain length and matching.
Conclusion
You do not need to be a jeweler to fix most pendant necklaces. A worn jump ring, a sticky clasp, or a snapped chain are all problems you can solve at home with basic pliers and a little patience. We covered the simple steps for each repair, plus the tools that make the job easy.
Start small. Pick one repair from this guide and try it this weekend. Gather your tools, work on a bright surface, and take your time. You will likely save money and feel proud of the result. And if a piece feels too delicate or valuable, do not stress. A quick trip to a professional is always a smart backup plan.
Frequently Asked Questions
Can I fix a broken pendant necklace with just one pair of pliers?
You can, but it is much harder. One pair of pliers makes it difficult to twist a jump ring open without bending it out of shape. We recommend using two pairs of chain-nose pliers for the cleanest result. This simple upgrade makes every repair faster and safer for your jewelry.
What is the strongest way to attach a pendant to a chain?
A split ring is the strongest option for most pendants. It has multiple coils, so it will not pop open like a single jump ring can. For heavier pendants, you could also ask a jeweler to solder the pendant loop closed. That is the most permanent fix available.
How do I know what size jump ring to buy for my necklace?
Check the size of the loop on your pendant and the link on your chain. The jump ring needs to fit through both without being too loose. A 20-gauge jump ring with a 5mm diameter works for most standard pendants. Bring your necklace to a craft store and compare sizes in person to be sure.
Will jewelry glue hold a heavy pendant in place?
No, glue is only for lightweight, decorative pendants. Heavy stones or metal pendants will pull the bond apart over time. For anything with real weight, use a wire wrap method or have a professional solder the bail. Glue is a quick fix, not a permanent solution for heavy pieces.
Why does my necklace keep breaking in the same spot?
That usually means a weak link or a worn clasp is putting stress on one area. We found that a damaged link near the clasp is the most common repeat offender. Cut out the weak link, reattach the chain with a new jump ring, and the problem should stop. If it keeps happening, the chain metal may be too thin for the pendant weight.