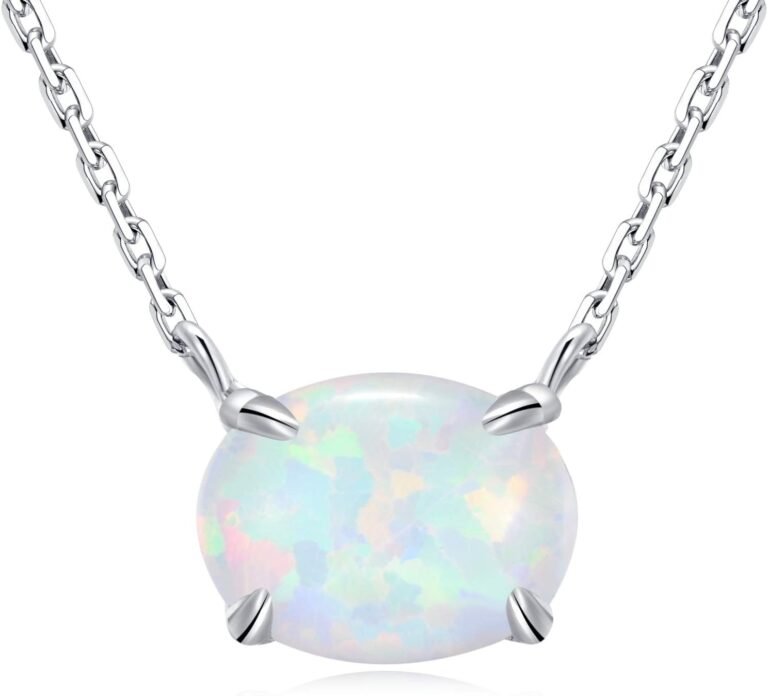
How to Make a Crystal Pendant Necklace
The easiest way to make a crystal pendant necklace is to wrap your crystal in jewelry wire and attach it to a chain or cord. You can do this with a few basic tools like wire cutters and pliers in under 30 minutes. This simple wire-wrapping method requires no soldering or specialized skills, making it perfect for beginners.
Making your own crystal jewelry lets you choose stones that match your style or intentions. You get to decide the exact length, chain type, and wire finish. We found that DIY necklaces also make thoughtful handmade gifts for friends and family. Plus, creating your own piece is far more affordable than buying one at a boutique.
- Gather your supplies: You need a crystal, 20-gauge craft wire, a chain, and a clasp.
- Start with wire wrapping: Create a sturdy loop at the top of your stone to hold the chain.
- Secure the stone: Wrap the wire around the crystal 4-6 times to hold it firmly in place.
- Attach the chain: Open your jump ring, slide the wire loop on, and close it tightly.
- Finish it off: Add a clasp for an adjustable fit so you can wear it at any length.
Below, we walk you through each step of the process, from picking the right crystal to adding the final touch. Let’s get crafting so you can wear your new favorite accessory by the end of the day.
Making Your Own Crystal Pendant: A Simple Step-by-Step Guide
You don’t need a jewelry studio to make a crystal pendant necklace. A clean desk, a bit of natural light, and a few basic tools are all you need. Most people finish their first wrap in under 30 minutes. We found that the key is to keep your movements slow and deliberate, especially when you are bending the wire.
Choosing the Right Crystal for Your Pendant
Picking your stone is the fun part. But you want a stone that is not too small to grip. A crystal that is about 1 to 2 inches long is the sweet spot for beginners. It gives you enough wire surface to work with while still hanging nicely on a chain.
Here is what we found about different shapes: tumbled stones and raw points are the easiest. Round beads are harder because they slip. Avoid stones with sharp cracks that could break while you wrap them.
Where to Find Quality Crystals
Local rock shops often have the best selection. You can hold the stone before you buy it, which is a big plus. Online stores work too, but check the reviews for size accuracy. Many sellers list dimensions, so you know exactly what you are getting.
Gathering Your Jewelry-Making Supplies
You probably have some of these tools around the house. But using proper jewelry pliers makes a huge difference. We recommend getting a basic set because they have smooth jaws that do not scratch your wire.
- 20-gauge craft wire: This is the best thickness for beginners. It bends easily but holds its shape well.
- Wire cutters: Flush cutters work best for snipping wire cleanly.
- Round-nose pliers: These help you make perfect loops every time.
- Chain or cord: A simple cable chain is easy to start with.
- Jump rings and a clasp: These finish off the necklace so you can take it on and off.
You can find all of these at any craft store. A full starter kit usually costs less than a pre-made necklace at a boutique. That is a win for your wallet and your crafting stash.
Preparing Your Workspace and Tools
Setting up your space prevents frustration later. You need a flat, hard surface. A cutting mat or a piece of cardboard protects your table from wire nicks. Make sure you have good lighting, because you are working with small pieces.
Why Wire Gauge Matters
Wire gauge refers to the thickness of the wire. The lower the gauge number, the thicker the wire. We found that 20-gauge is ideal for most crystals. It is strong enough to hold a heavy stone but flexible enough for hand wrapping.
If your crystal is heavy, consider using 18-gauge wire. It is thicker and provides more support. For tiny stones, you could go with 22-gauge, but it can be flimsy. Stick with 20-gauge while you are learning.
Understanding Soft vs. Hard Wire
Most craft store wire is labeled “dead soft” or “half-hard.” Dead soft wire is very pliable and easy to bend. This is perfect for beginners. Half-hard wire is stiffer and holds its shape a bit more, but it is harder on your hands. Start with dead soft.
Your pliers matter too. Regular household pliers have ridges that leave marks. Jewelry pliers are smooth. They grip the wire without damaging it. Many experts suggest investing in a decent pair because they last for years.
Creating the Wire-Wrap for Your Crystal
Now for the fun part. This is where your crystal gets its holder. The goal is to create a secure cage around the top of the stone. You want it tight enough to hold firm but neat enough to look professional.
How to Make the First Loop
Cut about 10 inches of wire to start. Hold your crystal in one hand and the wire in the other. Position the wire at the top third of the crystal. This is where you will create your anchor loop. Press the bend of the pliers against the wire to start shaping a small circle.
Think of this loop as the eye of a needle. It is what your chain will pass through later. Make sure it is closed tightly for now. You can adjust it after you finish wrapping.
Wrapping the Wire Around the Stone
Now, bring the short end of the wire across the front of the crystal. Then, take the long end and wrap it around the back. Cross the two wires at the top. This creates an X shape that holds the stone securely.
Keep wrapping the long wire around the top of the crystal. You want four to six tight coils at the top. Each wrap should sit right next to the previous one. This builds a sturdy cage that will not slip.
Securing the Wire End Safely
Once you reach six wraps, you can stop. Trim the extra wire close to the crystal with your cutters. Use your pliers to press the cut end down flat against the stone. This prevents any sharp wires from poking your skin.
We found that pinching the end flat against the back of the crystal works best. It hides the edge and keeps the front of your pendant looking clean and polished. Take your time here; it is worth the extra thirty seconds.
Attaching Your Pendant to a Chain
With your pendant wrapped, it is time to hang it. You will need a jump ring to connect the wire loop to your chain. This is a simple process, but there is a trick to opening jump rings correctly.
How to Properly Open a Jump Ring
Hold the jump ring with two pairs of pliers. One pair on each side of the gap. Do not pull the ends apart. Instead, twist them in opposite directions. This keeps the ring perfectly round for a tight closure.
Slide the jump ring through the loop on top of your crystal. Then, thread your chain through the same jump ring. Close it the same way you opened it, with a firm twist. Make sure the ends meet flush so it does not snag on clothing.
Choosing Between Chain and Cord
Metal chains are durable and glamorous. Leather cords give a more bohemian feel. We found that sturdy cords are easier for beginners to manage. They do not tangle as much. But you can use any chain you like.
Here is a quick comparison to help you decide:
| Option | Best For | Difficulty |
|---|---|---|
| Cable Chain | Everyday wear | Easy |
| Leather Cord | A casual, natural look | Very Easy |
| Beaded Cord | Layering with other necklaces | Moderate |
Pick what matches the style of your crystal. A smooth black cord makes a colorful stone pop. A shiny silver chain adds a bit of sparkle to a duller rock.
Adding a Clasp for an Adjustable Fit
A fixed length is fine, but an adjustable clasp is better. It lets you wear your necklace at different lengths. You can style it high on your neck for a chic look or let it hang low for a casual vibe.
Finishing Your Necklace with a Clasp
Attach a small jump ring to each end of your chain. On one side, add your clasp piece. On the other side, add the corresponding loop or ring. Use your pliers to squeeze the jump rings closed tightly.
Test the clasp by pulling it gently. If it feels loose, squeeze the jump rings a little more. This is a tiny part, but it carries the whole necklace. You want it to be strong enough to hold your crystal without breaking.
Quick Checklist for a Professional Finish
Before you wear your new necklace, run through this quick checklist. It only takes a minute, but it can save you from losing your pendant later.
- All wire ends are tucked flat against the stone.
- The top loop is completely closed with no gap.
- The jump rings are squeezed shut with no visible space.
- The clasp snaps and unsnaps with ease.
- The crystal hangs straight, not tilted to one side.
- There are no sharp edges anywhere on the piece.
Once you check these boxes, you are ready to wear your creation. Making your own crystal necklace is not just a craft. It is a way to create a personal talisman or a meaningful gift. You chose the stone, you shaped the wire, and you built something that is uniquely yours.
Conclusion
You now have everything you need to make a crystal pendant necklace you will actually wear. You learned how to pick the right stone, wrap it securely with 20-gauge wire, and attach it to a chain that fits your style.
The best part is you can repeat this process with any crystal you love. Each new stone gives you a fresh project that takes less than 30 minutes. Start with one simple pendant today. Once you finish it, you will feel confident enough to make them as gifts for friends and family. Pick your favorite crystal and get wrapping.
Frequently Asked Questions
How long does it take to make a crystal pendant necklace?
Most beginners finish their first pendant in about 30 minutes. Once you get the hang of the wire wrapping, you can complete one in 15 minutes or less. The wrapping itself is the most time-consuming part, but it goes faster with practice.
What is the best wire for wrapping crystals?
We recommend 20-gauge dead soft copper or brass wire for beginners. It is thick enough to hold your stone securely but flexible enough to bend without hurting your hands. You can find it at any craft store in a variety of colors.
Can I use any crystal for a pendant necklace?
Most crystals work well, but tumbled stones and raw points are the easiest to wrap. Avoid stones that are too small to grip or have sharp cracks. Round beads tend to slip out of the wire, so save those for a different project.
Do I need special tools to make a crystal pendant?
You need three basic tools: wire cutters, round-nose pliers, and flat-nose pliers. Regular household tools can leave marks on your wire, so jewelry-making pliers are worth the small investment. A full starter kit costs less than a pre-made necklace and lasts for years.
How do I keep my wire-wrapped crystal from falling out?
Make sure you complete at least four tight coils around the top of your stone. Each wrap should sit flush against the previous one. Press the final wire end flat against the back of the crystal so it cannot catch on anything and loosen over time.