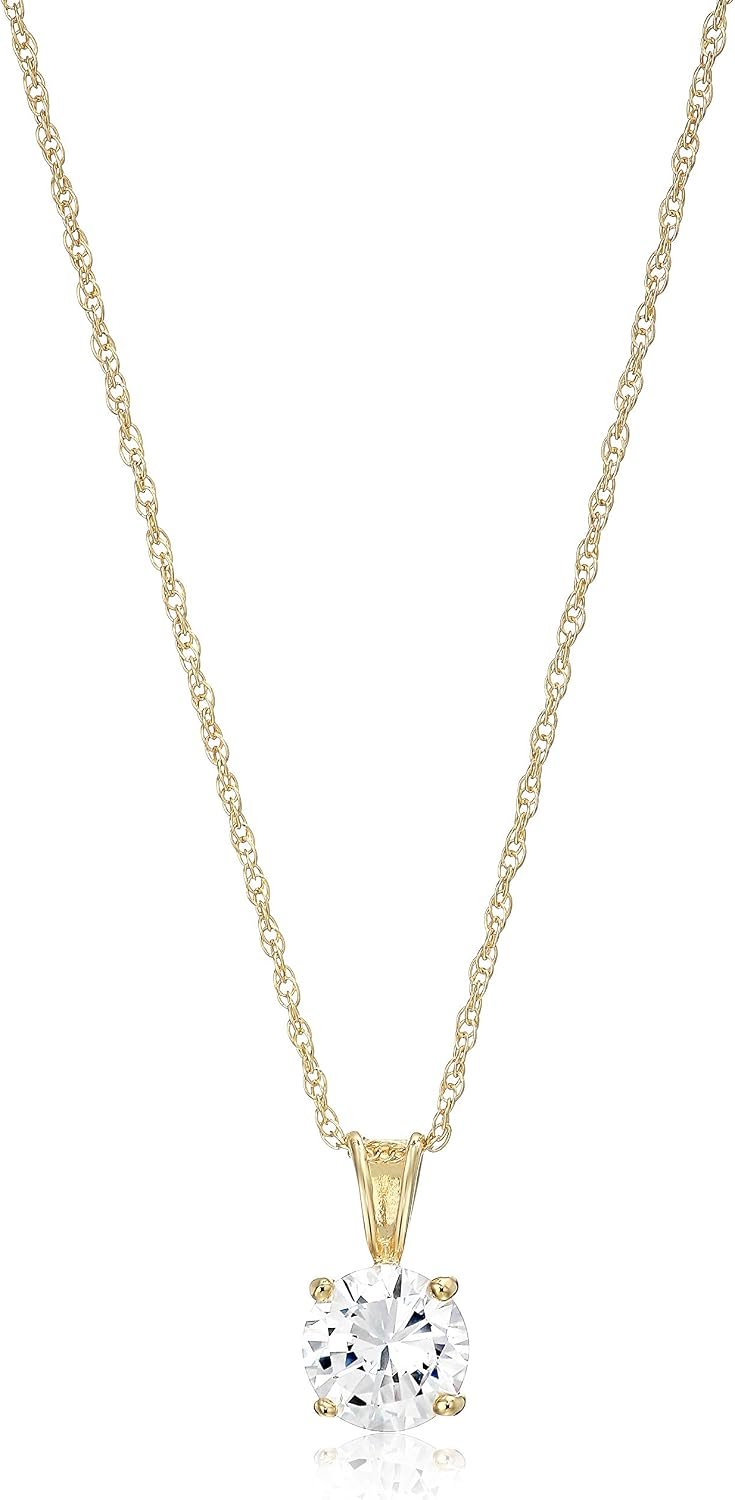
How to Make a Picture Pendant Necklace: DIY Guide
The easiest way to make a picture pendant necklace is to glue a photo onto a metal or glass cabochon and attach it to a chain. You only need a few craft supplies and about 15 minutes to finish it. This is a simple DIY project that creates a **personalized keepsake** you can wear every day.
We found that the process works for both **new photos and vintage prints**. You can use a single image, or you can create a tiny collage to fit the pendant size. The key is choosing the right glue and sealing the photo so it lasts. This project is also a great way to use up small photo scraps or create a **thoughtful handmade gift** for someone you love.
- Gather supplies: You need a glass or acrylic cabochon, a photo, Mod Podge or clear-dry glue, and a jewelry bail.
- Resize your image: Use a free app or template to make your picture exactly the same size as the pendant base.
- Apply adhesive carefully: A thin, even coat of glue prevents bubbles and wrinkles under the glass.
- Seal the back: Add a layer of sealant to protect the photo paper from moisture and peeling.
- Attach the bail: Use strong jewelry glue to fix the metal finding to the back, then thread your chain through it.
Below, we walk you through the best method to get a professional-looking finish. Let’s go step by step so you can create a beautiful necklace you’ll be proud to wear.
Making a Picture Pendant Necklace from Start to Finish
The whole process comes down to four simple steps: prep your photo, glue it to the base, seal it, and attach the chain. You do not need a fancy workshop or expensive tools. A clean kitchen table works fine.
We found that most people spend more time choosing the picture than actually making the necklace. That is part of the fun. You are turning a memory into something you can wear.
Choosing the Right Pendant Base for Your Photo
Your choice of base affects the whole look. Glass cabochons are the most popular option. They give a clear, shiny finish that makes the photo pop.
You can also use acrylic or metal bases. Acrylic is lightweight and great for large pendants. Metal bases work well for a vintage or industrial look. Think about the person who will wear it. A heavier glass piece feels special. A lighter acrylic piece is better for everyday wear.
Here is a quick comparison to help you decide:
| Base Type | Best For | Weight | Finish |
|---|---|---|---|
| Glass cabochon | Gifts, special occasions | Medium | High gloss, glass-like |
| Acrylic | Daily wear, kids | Light | Clear, durable |
| Metal tray | Vintage style | Light to medium | Matte or shiny metal |
| Wood base | Rustic or natural look | Light | Warm, textured |
Glass is the best starting point for beginners. It is forgiving and looks expensive even with simple supplies.
Getting the Photo Size Right Every Time
Nothing ruins a project faster than a photo that is too big or too small. You want the image to fit inside the pendant base with a tiny margin. This prevents the edges from curling up later.
Many craft stores sell template sheets. You place the base on the template and see the exact cut line. You can also use a free photo editing app on your phone. Measure the base with a ruler, then crop the photo to those exact dimensions in the app.
We found that printing on a home inkjet printer works well for most photos. Use the highest quality setting. Standard copy paper is fine, but photo paper gives a richer color. Just remember that thicker paper is harder to fold into curved bases.
Cut the photo with sharp scissors or a craft knife. A dull blade will tear the edges. Take your time here. A clean cut makes the final piece look professional.
Using a Collage Inside a Single Pendant
You can fit multiple tiny photos into one pendant. This is perfect for grandparents who want all their grandkids in one piece. Use a small collage template or arrange the photos manually in a photo editing app.
Keep the design simple. Two or three small squares work better than five overlapping images. Overlapping photos need extra glue and can bubble up. Leave a small white border around each mini photo for a clean look.
Print the collage on one sheet. Then cut it out as one piece. This method is much easier than gluing separate photos side by side.
Step-by-Step Assembly of Your Photo Pendant
Once your photo is cut, you are ready for the fun part. Work on a flat surface covered with newspaper or a craft mat. Keep a damp paper towel nearby for quick cleanups.
The order of steps matters. If you attach the bail before sealing the photo, you might smudge the image. Follow this sequence for the best results.
Applying the Adhesive Without Bubbles
Use a clear-drying glue like Mod Podge or a jewelry-grade adhesive. Apply a thin, even layer to the back of the glass or acrylic base. Do not drown the base in glue. A thin coat is enough.
Press the photo face-down onto the glued side. Use your fingertip or a soft cloth to smooth from the center outward. This pushes air bubbles to the edges.
If a bubble still appears, lift the corner gently and re-press. Do this before the glue dries. Once it sets, you cannot fix it without starting over.
Many experts say that a small roller tool works better than fingers for large pendants. A brayer or a clean credit card wrapped in tissue works too.
Sealing the Back of the Photo for Durability
The back of the photo is the weak point. Moisture from your skin can seep through the paper and cause wrinkles. A sealant layer protects the image.
Apply a thin coat of Mod Podge or a clear acrylic sealer to the back of the photo. Let it dry completely. Then apply a second coat for extra protection. This takes an extra five minutes but doubles the life of the pendant.
We found that this step is often skipped by beginners. Then they wonder why the photo fades or peels after a few weeks. Do not skip it.
For metal bases, you can also apply a thin layer of clear nail polish as a quick sealant. It works in a pinch, but a dedicated sealer is more durable.
Attaching the Jewelry Bail Correctly
The bail is the metal loop that holds the chain. It needs to be centered on the back of the pendant. If it is off-center, the necklace will hang crooked.
Use a strong jewelry glue or epoxy for this step. Regular craft glue will not hold. Apply a small dab to the flat part of the bail. Press it onto the sealed back of the pendant. Hold it in place for 30 seconds.
Let the glue cure for at least an hour before adding the chain. Some epoxies need 24 hours for a full bond. Check the label on your glue for the exact time.
Once the bail is secure, thread your chain or cord through the loop. You are done.
Customizing Your Necklace for Different Occasions
A picture pendant does not have to be plain. You can change the chain, add charms, or use a patterned backing paper. Small touches make it feel personal.
For a baby shower gift, use a pastel cord instead of a metal chain. For a memorial keepsake, use a dark bronze chain with a vintage finish. The options are endless.
Adding a Second Photo or Hidden Message
You can glue a tiny second photo on the back of the pendant. This is a sweet surprise for a partner or a child. Use the same glue and sealant process for the back photo.
Alternatively, write a short note on the back before sealing. Use a fine-tip permanent marker. Then cover it with sealant so the ink does not smudge. Many people love this hidden personal touch.
We found that a handwritten date or initials add a lot of sentimental value. It turns a pretty necklace into a family heirloom.
Choosing the Right Chain Length
Chain length changes the whole feel of the piece. An 18-inch chain sits at the collarbone. A 24-inch chain hangs lower on the chest. Try both lengths to see what feels right.
For a pendant, a shorter chain usually works better. The pendant stays visible and does not get lost in layers of clothing. If the pendant is large, a longer chain balances the weight.
You can buy chains separately at any craft store. Or reuse a chain from an old necklace you no longer wear. This is a great way to upcycle jewelry you already own.
Common Mistakes and How to Avoid Them
We have seen plenty of DIY photo pendants go wrong. Most problems come from rushing or skipping the sealing step. Here are the top issues and easy fixes.
- Bubbles under the photo: Use less glue and press from the center outward.
- Photo slides out of place: Let the glue get tacky for two minutes before placing the photo.
- Faded colors after a week: You forgot to seal the back. Add two coats of sealant.
- Crooked pendant: The bail was not centered. Measure before gluing.
- Peeling edges: The photo was cut too large. Trim it slightly smaller than the base.
- Cloudy finish: Too much glue smeared on the front. Clean the glass before drying.
Most of these mistakes take less than a minute to fix. Just pay attention during the assembly and you will avoid them completely.
If you are making a pendant for the first time, try a practice run with a random photo. This builds confidence without wasting a precious memory.
Conclusion
Making a picture pendant necklace is one of the most rewarding DIY projects you can try. You only need a photo, a cabochon base, and a little patience to create something truly personal. The whole process takes about 15 minutes, but the finished piece will last for years.
Remember the three steps that matter most: cut your photo to the exact size, use a thin layer of glue, and seal the back. Skipping the sealant is the fastest way to ruin your hard work. Get that part right, and your pendant will hold up beautifully through daily wear.
Your next step is simple. Grab a photo you love, pick up a glass cabochon and a bail from your local craft store, and make your first pendant tonight. You will be amazed at how professional it looks when you are done.
Frequently Asked Questions
What kind of glue works best for glass pendant photo crafts?
Use a clear-drying craft glue like Mod Podge or a jewelry-grade epoxy. These adhesives dry transparent and bond well to both glass and paper. Avoid regular school glue because it dries cloudy and can peel over time.
Can you use resin to make a picture pendant necklace?
Yes, resin is a fantastic option for a dome-shaped, glass-like finish. You place your photo in a bezel tray and pour a thin layer of resin over the top. This method takes longer to cure, but the result is durable and waterproof.
How do you keep a picture pendant from fading in the sun?
Print your photo with archival or fade-resistant ink to slow down color loss. Applying a UV-protective sealant spray to the front of the photo before assembly also helps. Keep the necklace out of direct sunlight when you store it.
Can you use a real photo print or does it have to be a copy?
We recommend using a printed copy of your photo instead of the original. Cutting and gluing the original can damage it permanently. Scan the original or snap a picture with your phone, then print that file at home.
What is the best chain for a heavy glass picture pendant?
A sturdy chain made of stainless steel or brass works best for heavier glass pendants. Look for chain links that are at least 2mm thick. Avoid delicate cord or thin fashion chains because they can snap under the weight.