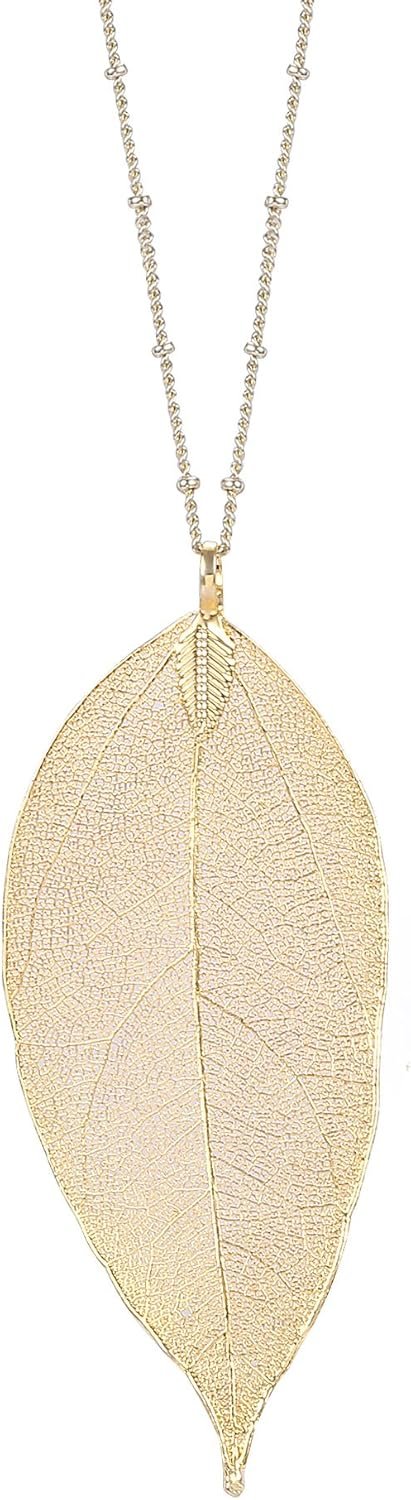
How to Make a Necklace with a Pendant: Step-by-Step
The simplest way to make a necklace with a pendant is to choose your cord and pendant first, then attach the pendant using a jump ring or a simple knot. You can finish a beautiful, custom necklace in under ten minutes with just a few basic tools. We found that starting with the right supplies makes the whole process much easier and more enjoyable.
Making your own pendant necklace is a fun and affordable craft. You can personalize it with your favorite beads, charms, or a special stone. Whether you are a complete beginner or have some experience, this project is all about simple techniques and your own creative style. We’ll show you the easiest methods that look professional without the fuss.
- Gather the essentials: You need a chain or cord, a pendant, and two pairs of jewelry pliers.
- Use a jump ring: This small metal ring is the most common way to attach a pendant securely.
- Try a basic knot: For a casual look, just tie the cord around the pendant’s loop.
- Add a clasp: Learn to add a lobster clasp for easy on-and-off wear.
- Check your work: Always tug-test your connections to ensure the pendant stays safe.
Below, we walk you through each step of the process in plain English. Let’s grab your supplies and get started on making something you will love to wear.
Making a Pendant Necklace From Start to Finish
You don’t need a jewelry studio or years of training to create a necklace that looks store-bought. We found that most projects take about ten minutes once you understand the basic connections. You just need a clear plan and a steady hand.
Choosing Your Pendant and Necklace Base
Your pendant and cord work as a team. A heavy stone pendant will pull on a thin silk cord. A delicate gold charm can get lost on a thick rope chain. We found that balancing the weight and style of your two main parts does half the work for you.
Think about the everyday wear and tear. Will you wear this necklace to work, to bed, or only on special nights out? That answer will guide your material choices more than any trend you see online.
Pendant Styles That Are Easy to Work With
Look for pendants with a small loop or hole at the top. That little ring is called a bail, and it is your best friend. If your pendant doesn’t have one, you can wire-wrap the top, but that adds a few minutes to the project. For your first few necklaces, we suggest sticking to pre-drilled beads or charms with attached loops.
Cord and Chain Options for Beginners
Start with a waxed cotton cord or a simple cable chain. Both are forgiving and easy to handle. Leather cord is lovely too, but it can be stiff. We recommend avoiding stretchy elastic for pendants because the weight of the pendant will stretch it out over time.
The Right Tools Make a World of Difference
You might think you can use your fingers and a pair of kitchen scissors. You can for a quick fix, but proper jewelry pliers are a small investment that saves you a lot of frustration. We found that two basic pliers cover almost every beginner need.
- Chain-nose pliers: These have flat, tapered tips. They are perfect for opening and closing jump rings without scratching them.
- Round-nose pliers: These have cone-shaped tips. They help you bend wire into neat loops for wrapping.
- Flush cutters: Use these to snip wire or cord cleanly. They cut flush against the surface, which leaves a tidy end.
If you only buy one tool, make it a pair of chain-nose pliers. We found that this single tool can handle most attachment tasks. You can always add more tools to your kit later as you try more advanced designs.
How to Attach Your Pendant With a Jump Ring
This is the most common method, and for good reason. A jump ring is a small metal ring with a tiny gap. You open that gap, slide the ring through your pendant’s loop, then close it around your chain. It is quick and secure.
We found that many beginners struggle with jump rings because they pull the ends apart sideways. That actually weakens the metal and makes the ring more likely to bend out of shape later. You want to twist the ends open instead.
Opening and Closing a Jump Ring Correctly
Grab the jump ring with two pairs of pliers. Hold one side of the gap in each pair. Gently twist one hand toward you and the other hand away from you. This action opens the ring sideways without distorting its round shape.
To close it, simply reverse the motion. Bring the two ends back together until they meet with a snug fit. If you see a gap, the pendant can slip out easily. Give the ring a little wiggle to make sure it is closed all the way.
Using an Extender Chain for Adjustable Length
Many people ask us how to get the perfect necklace length. Instead of guessing, we recommend attaching your pendant to a chain that has an extender. An extender is a small section of extra chain that hangs below your clasp. It usually has a tiny bead at the end so the clasp doesn’t slide off.
You simply hook the clasp into the link that feels right for you. This gives you a few inches of adjustment without needing to cut anything. We found that using an extender makes a necklace much more comfortable for different necklines and outfits.
Simple Knotting Technique for a Casual Pendant Look
Not every necklace needs a metal clasp. A simple knot can create a beautiful, laid-back look. This works especially well with leather or waxed cotton cord. You can tie a basic overhand knot right below a pendant with a loop.
Slide the cord through the pendant’s loop first. Pull the pendant to the middle of the cord. Then, bring the two loose ends together and tie a knot just below the pendant. This keeps it secure while letting it move naturally.
Creating a Sliding Knot for Adjustable Nechlace Length
A sliding knot is great for necklaces you want to wear without a clasp. You can even put the necklace on over your head. This knot uses two cords sliding against each other in a barrel-like configuration.
Fold one end of the cord back over itself to create a loop near the pendant. Wrap the same end around both cords a few times. Then, thread it back through the loop and pull tight. Repeat this on the other side to make a pair of matching knots.
Preventing Cords From Fraying at the Ends
Nylon and cotton cords tend to fray at the cut ends. This can make your necklace look worn out before its time. You can seal synthetic cords with a quick pass over a flame. The heat melts the fibers together to form a clean tip.
For natural cords like leather, use a dab of clear nail polish or a drop of jewelry glue. Let it dry completely before you wear the necklace. We found that this little step extends the life of your necklace significantly, especially if you wear it daily.
Adding a Lobster Clasp for a Professional Finish
A lobster clasp is that small, curved metal closure you see on store-bought necklaces. It looks complicated, but it is actually easy to attach. You just connect it to a jump ring at the end of your cord or chain.
On the other end, you will attach a small jump ring that serves as the loop. The clasp hooks into that loop when you wear it. This gives you a neckl/ace that you can easily take off and put on without pulling it over your head.
Using Crimp Beads With Wire and Cable
If you are working with a smooth wire or a beading cable, a crimp bead is your best solution. This is a tiny metal tube that you squeeze flat to create a strong hold. You slide the wire through the clasp, then through the crimp bead, and back through a few beads of your necklace.
Use your chain-nose pliers to flatten the crimp bead firmly. This locks the wire in place around the clasp. We found that flattening the crimp bead too hard can cut the wire, so use a gentle but firm pressure. Practice on a scrap piece of wire first if you feel unsure.
Quick Guide to Choosing the Right Attachment Method
You might be wondering which method is right for your specific project. We put together a simple comparison to help you decide. Each technique has its strengths, and none is better than the others. It really depends on the look you want.
| Attachment Method | Best For | Difficulty Level |
|---|---|---|
| Jump Ring | Chains and pendants with loops | Beginner |
| Simple Knot | Leather or cotton cord | Beginner |
| Sliding Knot | Adjustable length, no clasp needed | Intermediate |
| Lobster Clasp | Store-bought look, easy to remove | Beginner to Intermediate |
| Crimp Bead | Wire and beading cable | Intermediate |
Keep this table handy while you shop for supplies. It helps you pick the right hardware in the store. That way, you won’t come home with a clasp and no way to attach it.
Tips for Testing the Strength of Your Necklace
Before you wear your new necklace out, you want to make sure it will survive a full day. We found that a simple tug test helps you catch weak connections early. Hold the clasp in one hand and the pendant in the other, then give a firm but gentle tug.
If anything feels loose or wiggly, take a moment to fix it. This is much easier than losing your favorite pendant in a parking lot. If you are using a knot, check that it is pulled tight and will not slide through the pendant loop.
Your Necklace Making Checklist
Use this short checklist every time you make a pendant necklace. It covers the steps we talked about and helps you stay on track. We found that following a simple routine makes the craft more relaxing and fun.
- Pick a pendant and cord that match in weight and style.
- Gather your pliers, cutters, and jump rings before you start.
- Attach the pendant using a jump ring or a secure knot.
- Add a clasp or sliding knot to make the necklace easy to wear.
- Seal any cord ends to prevent fraying.
- Tug-test every connection before wearing your necklace.
Keep this checklist in your craft area for quick reference. You can also save it on your phone. Many experts say that organizing your workspace with a simple list makes the entire creative process smoother. You will finish your necklace without rushing back and forth for missing supplies.
Conclusion
Making a necklace with a pendant is one of the most rewarding beginner jewelry projects you can try. You now know the core methods: attaching with jump rings, tying secure knots, and adding professional clasps. We found that choosing the right cord and pendant combo does half the work for you.
Start with a simple chain and a pendant that already has a loop. Grab two pairs of pliers and attach everything with a jump ring. This first project will take you less than ten minutes. Once you master that basic skill, you can experiment with sliding knots, leather cord, and layering multiple pendants.
Grab your supplies today and make one necklace. You will be surprised how quickly you pick it up. Before you know it, you will have a whole collection of handmade jewelry you actually wear.
Frequently Asked Questions
What is the easiest way to attach a pendant to a necklace?
The easiest method is using a jump ring. Open it sideways with two pairs of pliers, slide it through your pendant’s loop and your chain, then close it snugly. This takes about two minutes once you get the hang of it.
Can I make a pendant necklace without any tools?
Yes, you can. A simple overhand knot works well with leather or cotton cord. Just thread the cord through your pendant’s loop and tie a knot below it. You can also use a sliding knot for an adjustable fit without any pliers.
What kind of cord is best for heavy pendants?
You want a sturdy cord that can handle the weight. Thick leather cord, waxed cotton, or a strong cable chain all work well. Avoid stretchy elastic because it will sag and stretch out over time with a heavy pendant.
How do I keep my pendant from sliding around on the chain?
Add a small crimp bead or a tiny knot on both sides of the pendant’s loop. This locks the pendant in place so it stays centered. You can also use tiny rubber stoppers made for jewelry making.
Why does my jump ring keep opening up while I wear my necklace?
You are probably pulling the jump ring open sideways instead of twisting it. Twisting the ends apart and back together keeps the ring round and strong. Also, make sure the ends meet with no gap when you close it. A quick tug test before wearing helps catch weak closures.