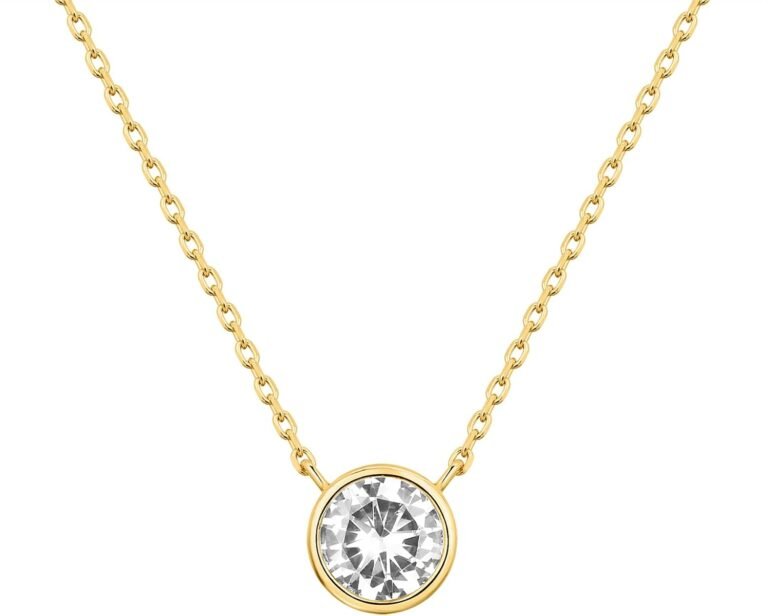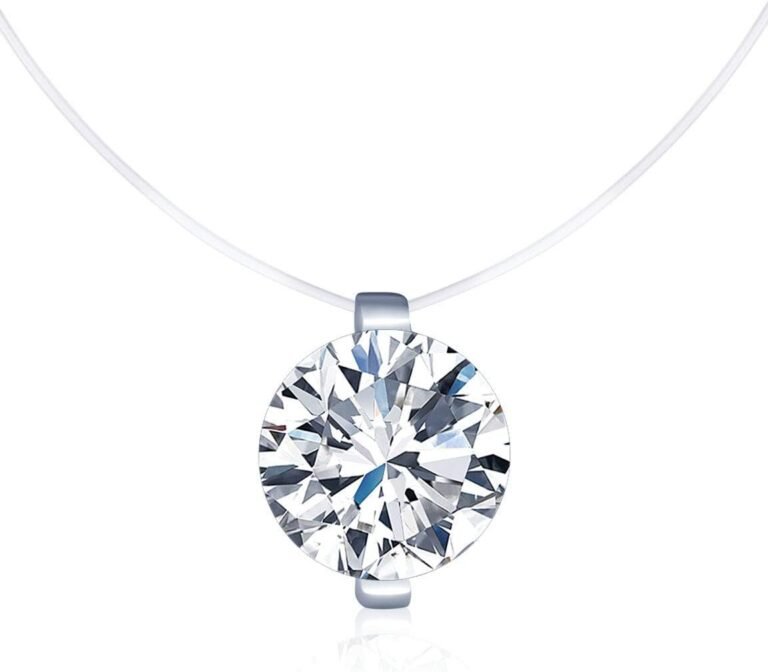
How to Add a Pendant to a Necklace Chain in 6 Steps
The easiest way to add a pendant to a necklace chain is to open the jump ring on the pendant, slide it onto the chain, and close the ring with pliers. If your pendant has a solid bail, you simply thread the chain through the opening and you’re done. You don’t need special skills or a jeweler for most chains.
We found that most people can do this in under two minutes with the right tools. You’ll need a pair of jewelry pliers, a flat surface, and a bit of patience. This works for layering necklaces, updating an old charm, or wearing a new piece you love without paying for a repair.
- Check your pendant: Look for a jump ring, a bail, or a hole in the charm.
- Grab your tools: Two pairs of flat or needle-nose pliers make it easier.
- Open the jump ring sideways: Pull one end toward you, never apart.
- Slide on the chain: Make sure the clasp or a section of links is on the ring.
- Close it tight: Squeeze the ring shut and give a gentle tug.
Below, we’ll walk you through each step for every type of pendant and chain, plus the simple mistakes to avoid.
Adding a Pendant to Your Necklace Chain the Right Way
You might think this takes a trip to the jewelry store. We found that most people can handle it at home with basic tools. The secret is knowing which type of pendant you have before you start. Once you know that, the whole process takes about two minutes.
Step 1: Identify Your Pendant Type
Every pendant hangs on your chain using one of three basic attachments. Look at the top of your charm right now. What do you see?
- A jump ring: A small metal circle, usually at the very top or inside a tiny loop.
- A bail: A solid, fixed loop or a hinged clasp at the top of the pendant.
- A plain hole: Just a hole bored straight through the charm, like a coin or a flat disk.
Your approach changes based on which one you have. You don’t need to force anything, either. If it feels too tight, you are probably using the wrong method for your specific pendant.
Step 2: Gather the Right Tools
The tool aisle can feel overwhelming. You only need two things: a pair of flat-nose pliers and a pair of chain-nose pliers. If you only have one pair, that works too, but two pairs give you better control. We found that using two pairs prevents the ring from flying across the room and getting lost forever.
A flat workspace and good lighting help a lot. Small parts like jump rings are easy to drop. Try working over a white towel or a tray with edges. That way, if you drop a ring, you can spot it quickly and it won’t roll away (Tiffany & Co.).
Mastering the Jump Ring Method
This is the most common way to hang a pendant. Most store-bought pendants come with a jump ring already factory-attached. If yours doesn’t have one, you can buy a small pack of them online or at a craft store. They are very inexpensive.
How to Open a Jump Ring Without Breaking It
Here is the biggest mistake we see people make: pulling the ring apart like a rubber band. That twists the metal and ruins the jewelry. Instead, you need to twist it sideways.
Grab one end of the ring with your pliers. Hold the other end steady with your second pair of pliers. Then, gently push one end toward you and the other away from you. This creates a small opening, like a door swinging open. The metal keeps its round shape, and you can easily slide the chain through.
Many experts say this twisting motion is the single most important technique to master. It keeps the ring strong enough to hold your pendant securely for years. It also makes closing the ring much easier.
Attaching the Ring to Your Chain
Slide the opened jump ring onto your necklace chain. Make sure you get a section of the chain that has links, not the clasp. Usually, the middle of the chain is perfect, but you can place it anywhere.
If your chain is delicate, like a fine cable or snake chain, pick up a small section of links with the ring. Don’t try to thread the whole chain through the ring. That would take forever. Just open the ring, pinch a link or two, and close the ring.
Closing the Jump Ring Completely
Once the chain is inside, close the ring by twisting the ends back together. You want the ends to meet flush, with no gap. Squeeze gently with your pliers to make sure it’s tight. Give it a little tug to test it. If there is a tiny gap, the pendant will snag on your clothes or catch on your hair. Always check for a smooth, closed seam.
Working With Pendants That Have a Solid Bail
Some pendants have a fixed loop at the top that is part of the design, not a separate ring. You cannot open this bail. If you try to pry it open, you will bend the metal permanently.
For these pieces, you simply thread the chain through the bail. If your necklace has a clasp and you can open it, unclasp the chain first. Then, feed one end of the chain through the bail and reattach the clasp. Easy, right?
If your chain does not open (like a permanent bangle-style necklace), you can still add a pendant. Use a small, separate jump ring. Open that jump ring, slide it through the bail, and then slide the chain into the ring. Then close the jump ring. This acts as an adapter.
Simple Fixes for Chain Holes and Screw Bails
Some charms have just a hole. Coins, driftwood, and some gemstone chips fall into this category. You will need a pinch bail or a tiny jump ring to make it work. Slide a jump ring through the hole, close it, and then use the methods above to attach it to the chain.
Screw bails are another option, though less common. These have a small screw that opens and closes the bail. You just unscrew the tiny pin, open the bail, insert the hole of the charm, and tighten the screw back up. Just be careful; the screws are tiny and easy to drop on the carpet.
Choosing the Right Chain for Your Pendant
Not every chain works with every pendant. A thin, delicate chain will not support a heavy, chunky pendant. Too much weight stretches the links and eventually breaks the chain, says many jeweler guidelines.
| Chain Type | Best Pendant Weight | Why It Works |
|---|---|---|
| Fine cable (thin) | Light only | Delicate links break under stress. |
| Rope or box chain | Medium | Stronger structure supports more weight. |
| Solid curb or Figaro | Heavy | Thick links handle daily wear and heavy gems. |
If your chain is too fragile, swap it out for a sturdier one. It’s worth the money to protect a sentimental pendant.
Fixing a Stiff Clasp or Tight Chain Links
Sometimes the issue isn’t the pendant, it’s the necklace itself. If you can’t open the clasp with your fingers, use your pliers. Just be gentle, as you can crush delicate metal.
If the chain has a kink, lay it flat on the table and gently tug on both ends. If that doesn’t work, small kinks often respond well to a bit of gentle coaxing with flat-nose pliers. Take your time, and work in short, small twists.
Common Mistakes That Ruin Your Necklace
You can avoid most jewelry disasters by simply checking your work. Here are the top four mistakes we found people make when adding a pendant:
- Pulling the jump ring apart: This bends the metal permanently and weakens the ring.
- Forgetting to close the ring: An open ring catches on hair and clothing, and you lose the pendant.
- Putting the pendant on the clasp: This adds weight to the clasp and can cause it to pop open.
- Using a heavy pendant on a thin chain: The chain will stretch and snap over time.
Take a second to double check your work before you wear it out. A quick tug on the pendant is all you need to confirm it’s secure.
Quick Final Checklist Before You Wear It
Before you head out the door, run through this quick mental list. It takes five seconds and saves you hours of heartache later.
- Check the ring gap: Run your fingernail over the seam. It should feel smooth.
- Tug gently on the pendant: It shouldn’t wiggle or slide out.
- Make sure the chain isn’t twisted: A twisted chain wears awkwardly.
- Test the clasp: Make sure it opens and closes smoothly.
- Hold it up to a mirror: Confirm the pendant hangs straight.
- Check the weight: The chain should hold the pendant without sagging.
That’s it. You now know how to attach any pendant to any chain. Go ahead and wear that piece you love. You don’t need to pay a jeweler for this simple task. You have the tools and the know-how to do it yourself, safely and securely.
Conclusion
Adding a pendant to your necklace chain is a quick DIY job you can handle in about two minutes. The key is knowing your pendant type: a jump ring, a fixed bail, or a simple hole. Each one has a slightly different approach, but none of them require a trip to the jeweler.
You just need the right pliers and a little patience. Open jump rings sideways, never pull them apart. Always double-check that your pendant is secure before you wear it. A quick tug and a fingernail test on the seam will save you from losing a favorite charm.
Your next step: grab your pendant and chain right now, lay them on a flat surface, and attach them using the steps above. You have everything you need to wear that piece today.
Frequently Asked Questions
Can I add a pendant to any necklace chain?
Yes, you can add a pendant to almost any chain. The trick is matching the pendant weight to the chain strength. Thin chains work best with lightweight pendants, while thicker chains can handle heavier charms. If your chain is too delicate, it will stretch or break over time.
What if my pendant doesn’t have a jump ring?
You can buy a pack of jump rings at any craft store or online for a few dollars. Choose a ring that fits snugly through your pendant’s hole. Open the ring sideways, slide it through the hole, then attach it to your chain using the same twisting technique.
How do I keep my pendant from sliding around on the chain?
Use small silicone bead stoppers on either side of your pendant. These tiny clear or metal beads grip the chain and hold your pendant in place. You can also use a tiny crimp bead, but those are harder to remove later. The silicone stoppers are the easiest option for changing positions.
Is it better to put the pendant on the clasp or the chain links?
Always attach your pendant to the chain links, never the clasp. Putting weight on the clasp can cause it to pop open and you might lose your necklace. The links are stronger and the clasp stays balanced. Aim for the middle of the chain for the most natural drape.
Can I use regular pliers from my toolbox?
You can, but regular pliers are bulky and can scratch or dent your jewelry. Jewelry pliers have smooth, rounded tips that grip small rings without leaving marks. They’re inexpensive, and you’ll use them for many future jewelry fixes. Worth the small investment.