DIY Wire Ring How To: Easy Step-by-Step Guide
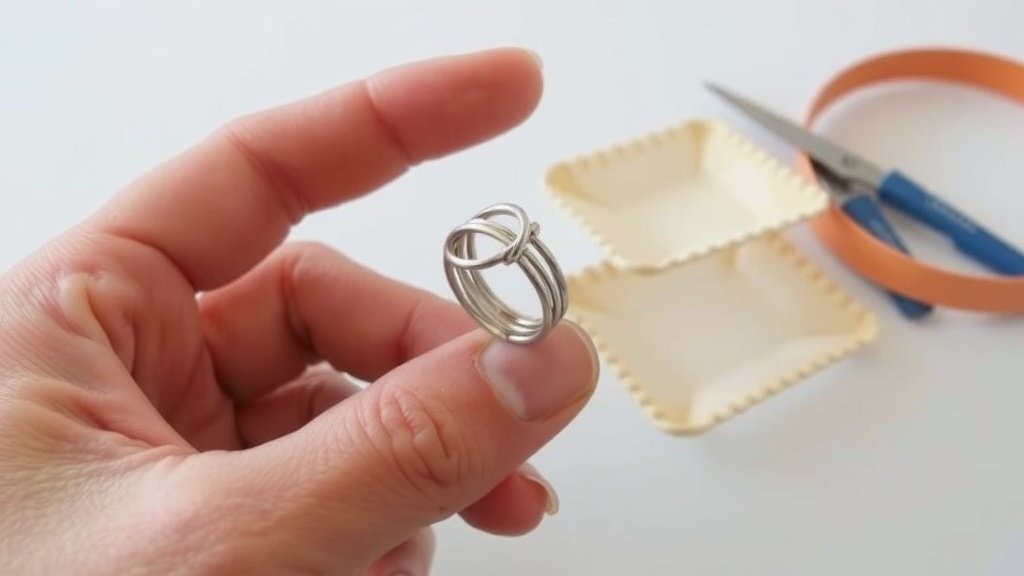
Making your own wire ring is surprisingly simple and fun! You can create beautiful, custom jewelry with just a few basic tools and some craft wire. It’s a fantastic way to get creative and design pieces that perfectly suit your style.
We found that many DIY jewelry makers love this project because it’s budget-friendly and allows for endless design possibilities. Whether you want a minimalist band or a more ornate piece, wire wrapping is a skill you can master quickly. You’ll be amazed at what you can craft.
- Gather your wire and basic jewelry tools.
- Learn simple wire-wrapping techniques.
- Shape your wire into a ring band.
- Add embellishments if desired.
- Finish your unique wire ring!
Ready to start designing? Let’s walk through exactly how to make your first wire ring step by step.
“`htmlCrafting Your Own Wire Rings: A Step-by-Step Guide
Making your own wire ring is a surprisingly accessible and rewarding craft. You can transform simple wire into beautiful, personalized jewelry with just a few basic tools. It’s a fantastic way to get creative and design pieces that perfectly suit your style or make thoughtful handmade gifts.
Gathering Your Essential Jewelry Making Supplies
Before you begin bending wire, you’ll need a few key items. Having the right tools makes the process much smoother and the results much better. We’ve found that most beginners can get started with a small, affordable collection of supplies.
The Wire You’ll Need
The type of wire you choose is important for both the look and durability of your ring. For beginners, craft wire is a great starting point. It’s generally more affordable and easier to bend than precious metal wires.
- Copper wire: It has a lovely warm color and is very easy to work with. It can sometimes leave a green mark on skin, so sealing it with a clear coat is a good idea.
- Brass wire: Offers a similar golden hue to gold and is also quite malleable.
- Aluminum wire: Lightweight and comes in many colors. It’s a good choice if you have metal sensitivities.
- Sterling silver or gold-filled wire: These are more expensive options but offer a professional, lasting finish. They are a bit harder to bend.
We recommend starting with a 20-gauge or 18-gauge wire. This thickness is sturdy enough to hold its shape but still manageable for bending by hand or with pliers.
Essential Tools for Wire Ring Making
You don’t need a whole workshop to make wire rings. Just a few essential tools will do the trick. These are your workhorses for shaping the wire.
- Round nose pliers: These have smooth, tapering jaws. They are perfect for creating loops and curves in your wire.
- Chain nose pliers (or flat nose pliers): These have flat, smooth jaws. They are great for gripping wire, flattening ends, and making sharp bends.
- Wire cutters: You need a sturdy pair to cleanly cut your wire.
- Ruler or measuring tape: For measuring the wire accurately.
- Ring mandrel or dowel rod: This is a tapered rod marked with ring sizes. It helps you create a perfectly sized ring band. A sturdy marker or even a lipstick tube can work in a pinch!
- Optional: Nylon jaw pliers: These won’t mar or scratch your wire, which is especially helpful if you’re using softer metals or want a pristine finish.
- Optional: Bead reamer or small file: To smooth any sharp edges after cutting the wire.
Getting Started: Measuring and Cutting Your Wire
The first step in creating your ring is getting the right length of wire. This might seem straightforward, but a little extra length gives you room to work. Many crafters find that adding an inch or two to their initial measurement prevents frustration.
Determining Your Ring Size
Knowing your ring size is key. You can find this out in a few ways:
- Use a printable ring sizer from an online jewelry store.
- Wrap a strip of paper or string around your finger, mark where it overlaps, and measure the length. Compare this to a ring size chart.
- If you have a ring that fits well, measure its inner diameter and compare it to a chart.
Remember that finger size can change with temperature and time of day. We found that measuring at the end of the day when fingers are slightly larger is often more accurate.
Calculating and Cutting the Wire Length
To calculate the wire needed, you’ll need to account for the circumference of your finger and extra for wrapping and design. A good starting point for a simple band is your ring size circumference plus about 2-3 inches. So, if your ring size is a 7, which has a circumference of roughly 54.4mm (2.14 inches), you’d want about 4-5 inches of wire.
Use your ruler to measure the wire. Then, use your wire cutters to make a clean cut. A clean cut ensures the wire ends are smooth and easy to work with.
Basic Wire Ring Construction Techniques
Now for the fun part: shaping the wire! We’ll start with a simple, classic wire ring design. This technique focuses on creating a smooth, comfortable band.
Forming the Ring Band
Take your measured piece of wire. Find the center point of the wire. Place the center point onto your ring mandrel or dowel rod at your desired ring size mark. If you don’t have a mandrel, you can gently form the wire around your finger, but be careful not to make it too tight!
Using your round nose pliers or finger strength, begin to bend the wire. Wrap each side of the wire around the mandrel, creating two parallel strands. The goal is to make them hug the mandrel closely. You want a snug fit without any gaps.
Securing the Wire Ends
Once you have a basic band shape, you’ll need to secure the ends. This is where your chain nose pliers come in handy. You can simply overlap the ends of the wire and use your chain nose pliers to carefully wrap one end around the other. This creates a simple, secure closure.
Alternatively, you can create small loops at the ends of each wire strand using your round nose pliers before bringing them together. This adds a decorative touch and helps prevent snagging. We found that wrapping the wire ends neatly is key for a professional look.
Finishing Touches for a Smooth Ring
Check your ring for any sharp edges or snags. Gently use your nylon jaw pliers or chain nose pliers to ensure the wire ends are tucked in smoothly. A small file or bead reamer can also be used to gently smooth down any rough spots. This step is crucial for comfort; no one wants a ring that catches or scrapes!
Adding Embellishments: Making Your Ring Unique
Once you’ve mastered the basic band, you can start adding decorative elements. This is where your creativity truly shines! Wire wrapping allows for endless possibilities.
Wire Wrapping Techniques for Decoration
You can add smaller pieces of wire to wrap around your main band. This technique is often called wire wrapping. Use a thinner gauge wire (like 24 or 26 gauge) for wrapping.
- Simple Coil Wrap: Wrap the thinner wire several times around the main band. You can do this at the top, bottom, or middle of the ring.
- Beaded Wrap: Before wrapping the thinner wire, thread small beads onto it. Then, wrap the beaded wire around the main band. Tiny seed beads or small gemstones work wonderfully.
- Decorative Ends: Instead of just tucking in the ends of your main wire, you can create small swirls or loops with your round nose pliers. These act as little decorative flourishes.
When wrapping, keep the coils tight and even. Use your chain nose pliers to help guide the wire and tuck in the ends neatly. Many designers suggest coiling the excess wire ends very tightly around the base of the wrap to secure it.
Incorporating Beads and Gemstones
Adding beads or gemstones can transform a simple wire ring into a statement piece. You can thread beads onto the main wire before shaping the band, or you can add them as part of a decorative wrap.
For a simple beaded ring, thread your chosen beads onto the wire before forming the band. Leave enough wire at each end to create the band and secure it. For a more intricate design, use a thinner wire to wrap around the main band, and string beads onto this thinner wire as you wrap. This allows you to create clusters of beads or patterns.
Creating More Advanced Designs
Once you’re comfortable with basic techniques, you can explore more advanced designs. These might involve:
- Creating a focal point: Use wire to wrap around a larger gemstone or charm, then attach this to your ring band.
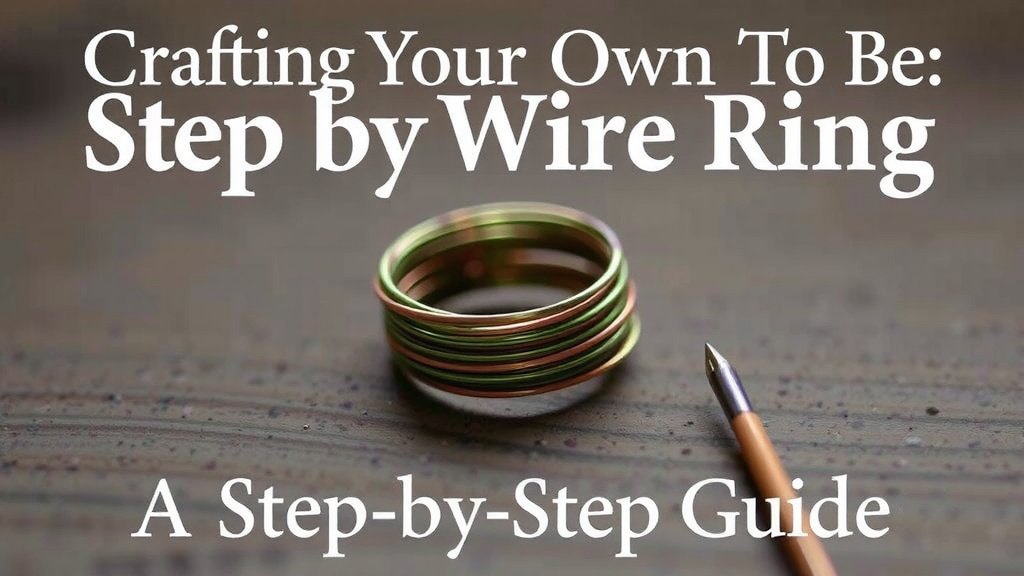
- Multiple bands: Weave or twist several pieces of wire together to create a thicker, more substantial band.
- Geometric shapes: Bend and shape the wire into hearts, leaves, or other geometric forms that extend from the ring band.
Don’t be afraid to experiment! Look at commercially made wire jewelry for inspiration. Many crafters find that practicing different techniques on scrap wire helps build confidence before working on a final piece.
A Quick Checklist for Your First Wire Ring Project
Ready to get started? Here’s a handy checklist to ensure you have everything you need and are ready to create your first beautiful wire ring:
- Have you gathered your chosen wire (e.g., 20-gauge copper)?
- Are your essential tools (pliers, cutters, mandrel) within reach?
- Did you measure your finger and calculate your wire length?
- Have you practiced bending a small piece of wire to get a feel for it?
- Are you ready to embrace a little creative bending and shaping?
Conclusion
You’ve learned how to create your own stunning wire rings! From selecting the right materials to mastering basic shaping and adding your personal flair, you’re now equipped to design beautiful jewelry. This craft is incredibly rewarding and offers endless creative avenues. Your first wire ring is just a few bends away!
Now, take your pliers, choose your wire, and start crafting. Your unique, handmade ring awaits!
Frequently Asked Questions
What’s the best type of wire for a beginner to use for making rings?
For beginners, we recommend starting with craft wire like copper or brass. These metals are affordable and much easier to bend and shape than sterling silver or gold-filled wire. Aluminum wire is also a great option if you have metal sensitivities.
How do I make sure my wire ring fits correctly?
Measuring your finger accurately is key. You can use a printable ring sizer, measure a strip of paper, or use a ring that already fits you well. Always account for the wire’s thickness and allow a little extra room for comfort, especially if you plan to add beads.
What if my wire ends are sharp after cutting?
Sharp wire ends can be uncomfortable and snag on clothing. Gently use nylon jaw pliers or flat nose pliers to carefully tuck them in. For an extra smooth finish, a small bead reamer or fine-grit file can gently smooth down any rough spots.
Can I add beads or gemstones to my wire ring design?
Absolutely! You can thread beads directly onto the main wire before forming the band, or use a thinner wire to wrap around the band and incorporate beads or small gemstones as you go. This is a fantastic way to personalize your creations.
How do I prevent my wire-wrapped rings from unraveling?
To keep your wire wraps secure, ensure you coil the wrapping wire tightly around the base of your design. Use your chain nose pliers to help guide the wire and tuck the cut ends neatly. Coiling the excess wire very tightly around the main band will help hold everything in place.