Measure Your Ring Size With Paper: A Simple Guide
Yes, you can absolutely measure your ring size using just a piece of paper and a pen! This is a quick and simple method to get a good estimate if you don’t have a ring sizer handy. You’ll want to be as accurate as possible to ensure a comfortable fit.
This paper method works by carefully measuring the circumference of your finger. Many people find this surprising, but it’s a reliable way to find your approximate ring size at home. It’s a clever trick that avoids the need for fancy tools, making it accessible for anyone needing to know their size.
- Measure your finger’s circumference with paper.
- Mark where the paper overlaps.
- Use a ruler to measure the marked length.
- Compare this measurement to a ring size chart.
- Remember to measure when your finger is at its normal size.
Let’s walk through exactly how to do this step by step to get you the most accurate measurement possible.
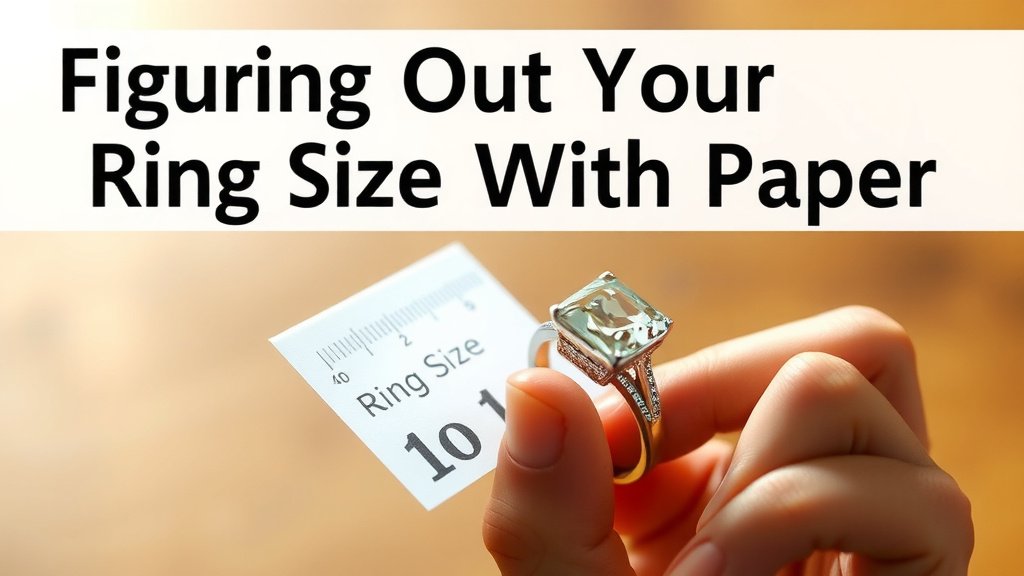
Figuring Out Your Ring Size Using Paper
So, you need to know your ring size, but you don’t have a fancy sizer? No worries! You can absolutely get a pretty accurate measurement using just a simple piece of paper and a pen. This method is all about carefully measuring the circumference of your finger. It’s a clever trick that’s surprisingly effective when you need a measurement in a pinch.
We’ll guide you through each step. The goal is to get you a measurement that’s close enough to buy that ring you’ve been eyeing. Getting the size right is super important for comfort and security. Nobody wants a ring that’s too tight or, even worse, slides right off!
What You’ll Need to Get Started
Before you begin, gather your supplies. You likely have everything you need already sitting around your house. This makes it a convenient option anytime, anywhere.
- A thin strip of paper (about 1/4 inch wide). Printer paper works well.
- A pen or pencil for marking.
- A ruler with millimeter markings for the most precise measurement.
- A mirror can be helpful to ensure you’re wrapping the paper correctly.
Step-by-Step: Measuring Your Finger
Now, let’s get down to business. Follow these steps carefully for the best results. Accuracy is key here, so take your time!
1. Preparing Your Paper Strip
First, cut a thin strip of paper. Aim for about 1/4 inch in width. Make sure it’s long enough to wrap comfortably around your finger. You don’t want it too wide, as that can lead to an inaccurate reading. A thinner strip will hug your finger more closely, giving you a better measurement.
2. Wrapping the Paper Around Your Finger
Take the paper strip and wrap it around the base of the finger where you plan to wear the ring. It should be snug, but not uncomfortably tight. Imagine you’re putting on a ring – that’s the level of snugness you’re aiming for. Don’t pull it too hard, or you’ll get a measurement that’s too small.
Try to keep the paper strip flat against your skin as you wrap it. Avoid twisting or bunching it up. It should feel like a comfortable band around your finger. You might want to use a mirror to see what you’re doing, especially if you’re measuring a finger on your non-dominant hand.
3. Marking the Overlap Point
Once the paper is snug around your finger, carefully mark the exact spot where the end of the paper strip meets the rest of the strip. Use your pen or pencil to make a clear, distinct line. This mark indicates the circumference of your finger at that point.
Be precise with this mark. If the mark is too smudged or too large, it could throw off your measurement. A sharp pencil will help you make a fine, accurate line. This is the critical point where the paper “closes” to form a circle around your finger.
4. Removing and Measuring the Paper Strip
Gently slide the paper strip off your finger. Keep the mark intact! Now, lay the strip flat and use your ruler to measure the length from the end of the strip to the mark you made. Make sure you’re measuring in millimeters for the best accuracy. Most ring size charts use millimeter measurements.
Measure from the very beginning edge of the paper strip up to your mark. If your mark isn’t perfectly straight, try to measure to the center of the mark. Millimeters are your friend here; inches can be too broad for the precision needed for ring sizing. Many jewelry stores use millimeter measurements as their standard.
Converting Your Measurement to a Ring Size
You’ve done the hard part! Now it’s time to figure out what that measurement means in terms of an actual ring size. This is where a ring size chart comes in handy.
Using a Ring Size Chart
Once you have your millimeter measurement, you’ll need to compare it to a standard ring size chart. You can easily find these online by searching for “ring size chart” or “US ring size chart.” These charts typically list circumference in millimeters alongside the corresponding ring size number.
Look for the chart that matches the country you’re shopping in, as sizes can vary internationally. Most charts will have a column for circumference and another for the ring size. Find your millimeter measurement in the circumference column and read across to find your size.
| Ring Size | Circumference (mm) |
|---|---|
| 4 | 46.9 |
| 5 | 49.3 |
| 6 | 51.8 |
| 7 | 54.3 |
| 8 | 56.8 |
| 9 | 59.3 |
| 10 | 61.8 |
| 11 | 64.3 |
| 12 | 66.8 |
Keep in mind that this is an approximation. If your measurement falls between two sizes, it’s often recommended to go up to the larger size. This is especially true if your knuckles are larger than the base of your finger. A slightly looser ring is usually more comfortable than one that’s too tight.
Important Considerations for Accuracy
A few extra tips can help you get the most accurate measurement possible. These little details make a big difference.
Time of Day Matters
Your fingers can swell and shrink throughout the day. They tend to be larger in the afternoon and evening and smaller in the morning. For the most reliable measurement, try measuring your finger in the late afternoon or early evening. Many experts suggest this time of day for the most consistent finger size (Cleveland Clinic).
Temperature Effects
Cold weather can make your fingers shrink, while hot weather can cause them to swell. It’s best to measure when your body is at a normal temperature. Avoid measuring right after intense exercise or when you’re feeling very cold or overheated.
Measure Multiple Times
To be extra sure, try measuring your finger two or three times on different occasions. Take your paper strip measurement in the morning, afternoon, and evening. This helps account for natural fluctuations. If your measurements are consistent, you can be more confident in your size.
Consider Your Knuckles
If your knuckles are significantly larger than the base of your finger, make sure your paper strip can comfortably slide over them. You might need to adjust your measurement technique slightly to account for this. The paper needs to fit over the widest part of your finger, which often includes the knuckle.
A Quick Checklist for Success
Want to make sure you haven’t missed anything? Here’s a quick rundown:
- Use a thin strip of paper.
- Wrap it snugly, but not too tight.
- Mark the exact overlap point.
- Measure to the mark in millimeters.
- Check a reliable ring size chart.
- Measure when your finger is at a normal temperature.
Conclusion
You’ve successfully learned how to measure your ring size using just a piece of paper! Remember, accuracy comes from taking your time and following each step carefully. Pay attention to the time of day and temperature, as these can affect your finger size. By marking precisely and measuring in millimeters, you’ll get a reliable measurement. Once you have your millimeter reading, a quick check against a US ring size chart will tell you your size. Now you’re ready to confidently shop for that perfect ring online or in-store!
Frequently Asked Questions
How do I know if my paper measurement is accurate enough?
To ensure accuracy, measure your finger two to three times on different days and at different times. Also, be sure to measure when your hands are at a normal temperature, not too hot or cold. Consistent measurements across multiple attempts are a good indicator of accuracy.
What if my paper strip measurement falls between two sizes on the chart?
If your measurement is between two sizes, it’s generally recommended to choose the larger size. This is especially true if your knuckles are larger than the base of your finger. A slightly larger ring will be more comfortable than one that’s too tight.
Can I use a wider strip of paper to measure my finger?
It’s best to use a thin strip of paper, about 1/4 inch wide. A wider strip can be harder to wrap snugly and flat against your finger, potentially leading to an inaccurate reading. A narrower strip will give you a more precise circumference.
How important is the time of day when measuring my finger?
The time of day is quite important because your fingers can swell or shrink. They are typically largest in the afternoon or evening. Measuring during these times will give you the most accurate reading for a comfortable fit throughout the day.
Can I use this paper method to measure for someone else’s ring size?
Yes, you can use this paper method to measure for someone else, but it requires a bit of stealth! Try to borrow a ring they wear on the correct finger and measure the inner circumference of that ring using the paper method. Alternatively, you can try to measure their finger when they are asleep, but this is more challenging to do accurately.