
How to Solder a Ring: A Step-by-Step Guide
Yes, you can absolutely solder a ring at home with the right tools and a little patience. It’s a great way to make quick repairs or even create new jewelry designs yourself. You’ll be able to mend broken bands or attach small decorative elements when you learn how to solder a ring.
This process involves melting metal to join two pieces together. It requires understanding the basics of heat control and using the correct type of solder for your metal. Many DIYers find it a rewarding skill to add to their toolkit, making it possible to fix sentimental pieces or even customize accessories.
- Gather your soldering kit: flux, solder, torch, and safety gear.
- Prepare your ring for soldering.
- Apply flux to the area you will join.
- Heat the ring and apply the solder.
- Clean and finish your soldered ring.
Ready to give it a try? Below, we’ll walk you through the exact steps you need to successfully solder a ring, from prepping your workspace to the final polish.
Mastering the Art of Ring Soldering at Home
Learning how to solder a ring at home is a truly rewarding skill. It opens up a world of possibilities for jewelry repair and even custom creations. You might be surprised at how accessible this craft can be with the right approach. We’ve researched the process and found it requires precision and understanding, but the results are well worth the effort.
Gathering Your Essential Soldering Tools
Before you begin, gathering your tools is the first important step. Having everything ready makes the soldering process much smoother. You’ll need a few key items to ensure safety and success.
The Core Soldering Kit Components
Your basic soldering kit should include several critical items. These are the building blocks for successful soldering. Many DIY jewelry makers agree that investing in quality tools here pays off.
- Soldering Torch: A butane torch designed for jewelry work is ideal.
- Solder: This is the metal alloy that melts to join your pieces.
- Flux: A chemical paste that cleans metal and helps solder flow.
- Safety Gear: Heat-resistant gloves, safety glasses, and a well-ventilated area are a must.
- Jeweler’s Saw: For precise cuts if needed.
- Tweezers: Heat-resistant ones are best for holding small parts.
- Pick-up Tool: A non-metallic, heat-resistant tool can be helpful.
- Quenching Bowl: Filled with water for cooling.
- Files and Sandpaper: For cleaning and finishing.
Choosing the Right Solder and Flux
The type of solder you use depends on the metal of your ring. For most jewelry, especially silver and gold, you’ll want specific jewelry solder. It comes in different melting temperatures, often referred to as hard, medium, and easy. Hard solder melts at the highest temperature, followed by medium, and then easy.
Why different temperatures? It allows you to solder multiple joints on a single piece without melting previous work. For a simple ring repair, you might only need one type. Always check the metal content of your ring to select compatible solder. For example, use silver solder for silver rings and gold solder for gold rings. If you’re unsure, many jewelers suggest starting with an easy solder for beginners.
Flux is equally important. It prevents oxidation when you heat the metal. Oxidation can prevent the solder from flowing properly. Look for a flux specifically designed for jewelry soldering. It often comes as a paste or a liquid. You’ll apply it to the areas you intend to join.
Preparing Your Ring for Soldering
Proper preparation is key to a clean, strong solder joint. Think of it like cleaning up before a big meal. You wouldn’t start cooking without prepping your ingredients, right? Your ring needs the same attention.
Cleaning the Ring Band
Start by thoroughly cleaning the area of the ring you’ll be working on. Any dirt, oil, or old polish can interfere with the solder. You can use a soft brush and some mild soap or an alcohol wipe. Make sure the area is completely dry before proceeding. A clean surface allows the flux and solder to bond effectively.
Positioning the Ring for Repair
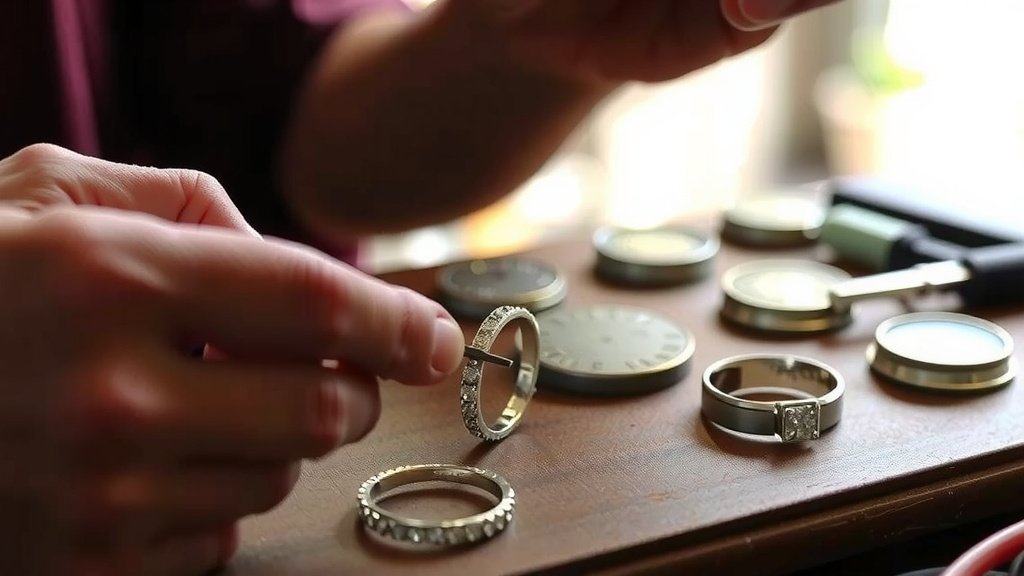
If you’re mending a break, align the two broken ends as perfectly as possible. They should meet flush, like two puzzle pieces. If the break is jagged, you might need to carefully file the edges to create a flat surface. This ensures a strong connection. For attaching a small decorative piece, position it exactly where you want it to be before you start heating.
Using heat-resistant tweezers or a soldering pick can help you hold the pieces in place. Sometimes, a small piece of soldering wire or wire solder can act as a temporary jig to keep things aligned.
Applying Flux and Solder
This is where the magic starts to happen! Flux and solder work together to create that strong, invisible bond.
Applying Flux to the Joint
Dip your brush into the flux and apply a thin, even layer to both surfaces that will be joined. Make sure the flux covers the entire area where the solder needs to flow. You want a nice, shiny surface once the flux is applied. If it looks dull, you may need to re-clean and re-flux. This step is non-negotiable for a good solder joint.
Placing the Solder
Cut a small piece of your chosen solder. For a ring repair, a tiny sliver is usually enough. You want just enough solder to fill the gap. Too much can create a messy blob. You can place the solder snippet directly onto the fluxed joint, or have it ready nearby to feed in as the metal heats up. We found that having the solder ready but not yet touching the ring can be helpful.
Heating the Ring and Melting the Solder
Heat control is the most critical part of soldering. You’re not just applying heat; you’re directing it precisely. This is where your torch skills come into play.
Controlling Your Torch Flame
Set your torch to a small, controlled flame. You don’t need a roaring inferno. For most jewelry work, a focused, blue flame is best. Hold the torch at an angle, not directly at the solder. The heat should be applied to the body of the ring itself. The metal of the ring should get hot enough to melt the solder.
Start by heating the area of the ring *away* from the joint. Gradually move the flame closer to the joint. You’re essentially drawing the heat toward the solder. This allows the entire area to heat evenly. When the metal reaches the correct temperature, the solder will melt and flow into the joint. It happens quite quickly!
When the Solder Flows
You’ll know the solder has flowed when it suddenly disappears and then reappears, looking like a shiny liquid. It will be drawn into the seam by capillary action, thanks to the flux. Once the solder flows and fills the joint, remove the heat immediately. Don’t keep heating, as you could melt the solder again or even damage the ring. Let the soldered area cool undisturbed.
It’s tempting to touch it or blow on it, but resist the urge! Patience here prevents cracks. Many beginners make the mistake of overheating or moving the piece too soon. We found that observing the solder’s flow is the best way to learn.
Cleaning and Finishing Your Soldered Ring
Once your ring has cooled completely, it’s time for the final touches. This part brings out the beauty of your repair or creation.
Removing Flux Residue
After cooling, you’ll need to clean off the flux residue. Flux can be corrosive and unsightly. A gentle scrub with warm water and a soft brush usually does the trick. Some fluxes may require a bit more effort. A pickle solution, a mild acid bath specifically for jewelry metals, can also be used if recommended for your specific flux type. Always rinse thoroughly after using any cleaning solution.
Filing and Polishing
You might have a small bump or excess solder where you joined the pieces. Use a fine-grit file to gently level this area. Work slowly and carefully. Once smooth, you can move on to sandpaper, starting with a coarser grit and moving to finer grits. This refines the surface.
Finally, polish the entire ring to a beautiful shine. You can use a polishing cloth, a rotary tool with polishing attachments, or even professional polishing compound. Your goal is to make the soldered area blend in seamlessly. Many jewelry makers find this finishing stage to be the most satisfying. You’ve transformed a broken piece into something whole again!
A Quick Checklist for Your First Ring Soldering Project
Feeling ready? Here’s a quick rundown to keep you on track:
- Ensure your workspace is well-ventilated and clear of flammable materials.
- Wear your safety glasses and heat-resistant gloves throughout the process.
- Clean and align the ring components perfectly before applying flux.
- Heat the ring metal, not the solder directly, to draw the solder into the joint.
- Allow the soldered ring to cool completely before touching or cleaning.
- Finish by filing and polishing the repaired or joined area until smooth and shiny.
Conclusion
You’ve learned the essential steps to solder a ring right at home! From gathering your specialized tools to carefully heating and cooling your piece, you now have the knowledge to tackle simple repairs or even create something new. Remember, patience and precision are your best friends in this process. Don’t be discouraged if your first attempt isn’t perfect; practice makes perfect with soldering.
Your next step? Gather your kit and choose a practice piece or a simple repair. You’ve got this!
Frequently Asked Questions
What kind of torch do I need for soldering rings?
For home jewelry soldering, a butane torch designed for crafts is usually sufficient. These torches offer a controllable flame ideal for precise work on smaller metal pieces like rings. Avoid torches meant for plumbing, as they can be too powerful and difficult to manage for delicate jewelry.
How do I know if I’m using the right kind of solder?
The solder you choose must be compatible with the metal of your ring. For example, use silver solder for silver rings and gold solder for gold rings. Jewelers often recommend starting with easy solder due to its lower melting point, which is more forgiving for beginners.
What happens if I overheat the ring?
Overheating can cause the metal to become brittle, warp, or even melt. It can also burn away the flux too quickly, preventing the solder from flowing properly. Always aim for a controlled flame and heat the ring itself, not the solder directly, allowing the metal’s heat to draw the solder.
Can I solder different metals together?
Soldering different metals together is tricky and generally not recommended for beginners or for most jewelry repairs. Metals have different melting points and chemical properties. Your best bet is to always use solder that matches the primary metal of the ring to ensure a strong, lasting bond.
How do I make the solder joint invisible?
Achieving an invisible solder joint takes practice and a good understanding of heat control. The goal is to use just enough solder and heat the metal correctly so the solder flows cleanly into the seam. Proper filing and polishing afterward are also key to blending the repair smoothly into the rest of the ring.